How to Build and Run Optimized, Self-Compiled LLMs Locally on MacBook Pro Apple Silicon M-series
A compendium of the best ways to privately and efficiently run optimized, self-compiled LLMs locally on MacBook Pro Apple Silicon M-series.

This article/tutorial is still under construction. Feel free to bookmark this post to come back later, as there may be new information by then!
Introduction
We’ll be going over 3 separate options, along with the pros and cons of each:
- MLC LLM
- llama.cpp
- MLX (WIP)
Requirements
- MacBook Pro Apple Silicon M-series
- Conda
- Homebrew
- Directory for LLMs
1
mkdir -p $HOME/.llm
Conda
Update conda
1
 conda update --yes -n base -c defaults conda
Install
conda-libmamba-solver1
conda install --yes -n base conda-libmamba-solver
Set as default solver
1
 conda config --set solver libmamba
Confirm it’s the default
1
 conda config --show-sources
Output should look similar to (or include)
1
2
==> /Users/lynkos/.condarc <==
solver: libmamba
conda-libmamba-solveris much faster than classic for many reasons, though it’s possible to make it faster:
- Specify package(s) target versions, e.g.
conda install python=3.11 numpyinstead ofconda install python numpy- Use strict channel priority, i.e.
--strict-channel-priority, to reduce solver search space when mixing channels; set permanently withconda config --set channel_priority strict- Use
--update-specs; for existing environments, don’t freeze installed packages by default- Disable the retry loop with
CONDA_LIBMAMBA_SOLVER_MAX_ATTEMPTS=0, making it behave more likemicromamba(experimental!)
Homebrew
Install necessary packages: Ninja, git, git LFS, Hugging Face CLI
1
brew install ninja git git-lfs huggingface-cli
Ccache
Optional C/C++ compiler cache; ideal for repeated builds
1
brew install ccache
MLC LLM
Background

Requirements
- Hugging Face Account
- Rust and Cargo (required by Hugging Face’s tokenizer)
Initial Setup
Directory Structure
Create directories for TVM Unity (used by MLC LLM), MLC LLM, and LLVM (used by TVM Unity compiler) in your .llm directory
1
mkdir -p $HOME/.llm/{tvm-unity,mlc-llm,llvm-tvm}
Your directory structure should look similar to this
1
2
3
4
5
6
$HOME/
├── .llm/
│   ├── tvm-unity/
│   ├── mlc-llm/
│   └── llvm-tvm/
└── ...
Rust and Cargo
Download
rustupand install Rust1
curl --proto '=https' --tlsv1.2 -sSf https://sh.rustup.rs | sh
Once you are prompted to specify your installation method, select
2) Customize installationby entering2in the CLI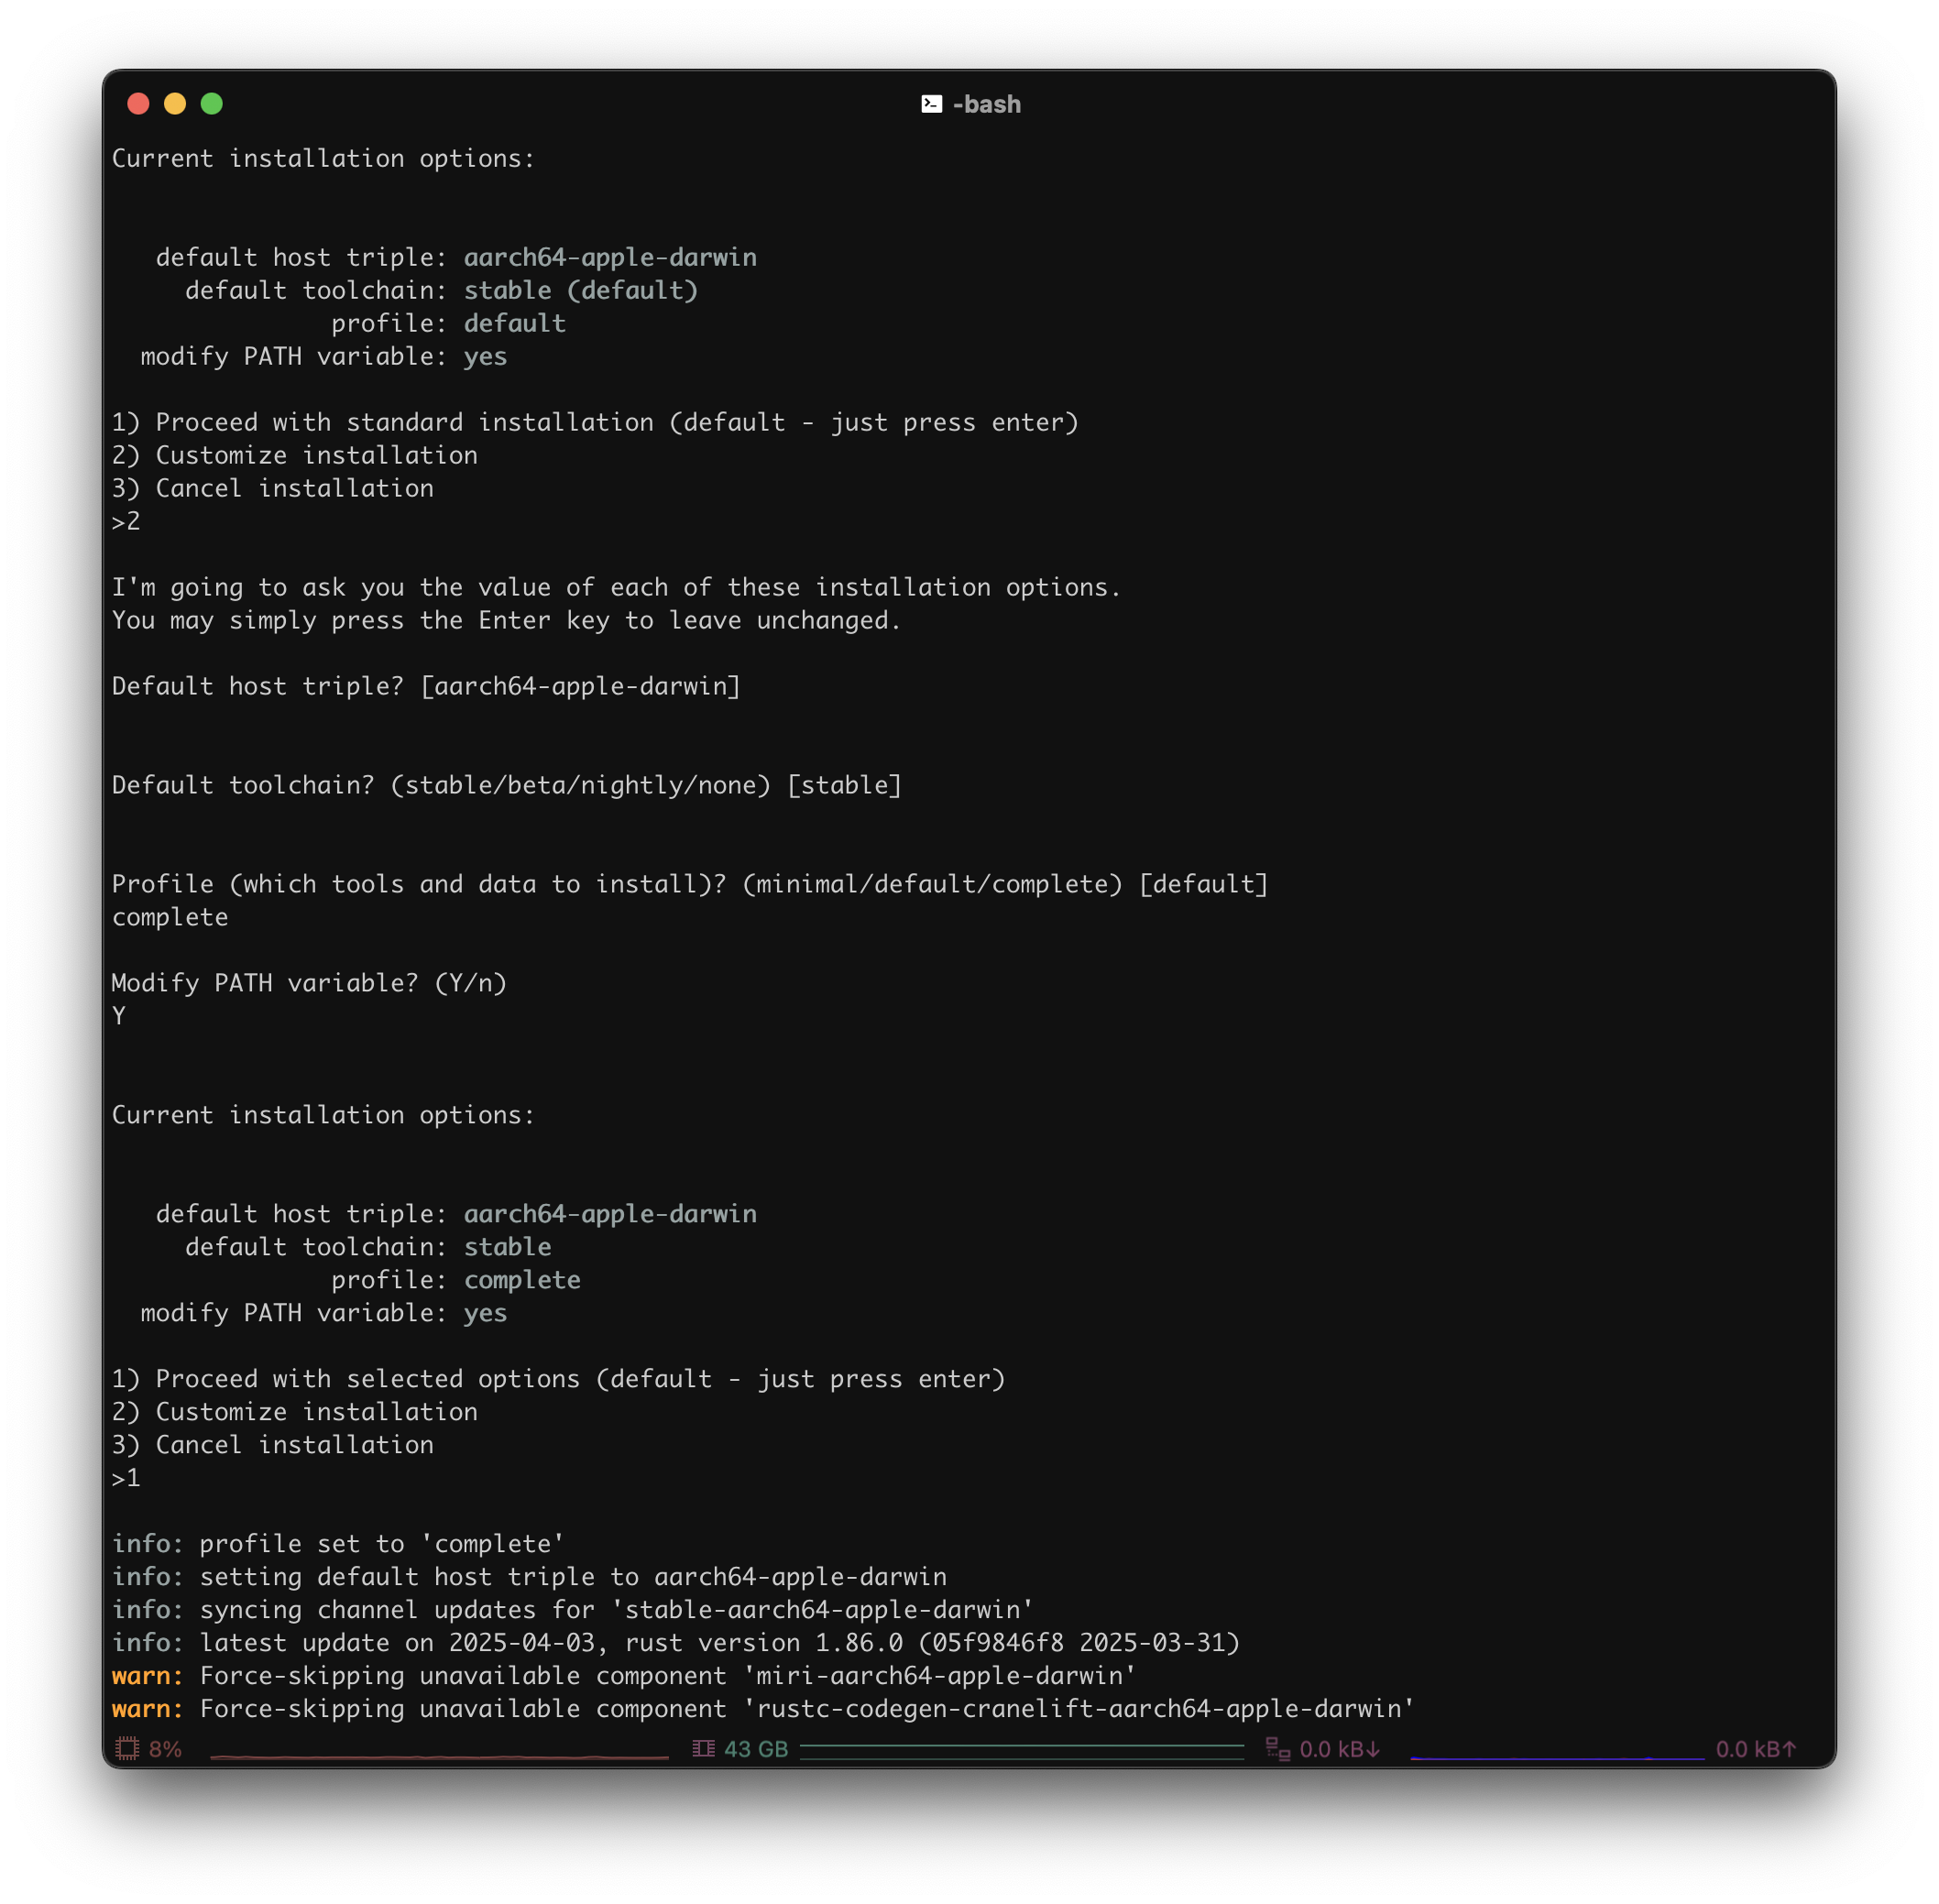
1
2
3
 1) Proceed with standard installation (default - just press enter)
 2) Customize installation
 3) Cancel installation
- Choose the following installation options:
- Default host triple?: Press Enter (i.e. default)
- Default toolchain?: Press Enter (i.e. default)
- Profile (which tools and data to install)?:
complete - Modify PATH variable? (Y/n):
Y
1
2
3
4
5
6
7
8
9
10
11
12
 I'm going to ask you the value of each of these installation options.
 You may simply press the Enter key to leave unchanged.

 Default host triple? [aarch64-apple-darwin]

 Default toolchain? (stable/beta/nightly/none) [stable]

 Profile (which tools and data to install)? (minimal/default/complete) [default]
 complete

 Modify PATH variable? (Y/n)
 Y
Once you see something similar to this, enter
1to proceed with the customized installation options1 2 3 4 5 6 7 8 9
Current installation options: default host triple: aarch64-apple-darwin default toolchain: stable profile: complete modify PATH variable: yes 1) Proceed with selected options (default - just press enter) 2) Customize installation 3) Cancel installationAfter installation, configure your shell (i.e.
.bashrc,.zsh,.profile,.bash_profile, etc.) to reload yourPATHenvironment variable to include Cargo’s bin directory ($HOME/.cargo/bin)1
. "$HOME/.cargo/env"
Build and Install
Part 1: LLVM
Create Conda environment with build dependencies
1
 conda create -n tvm-build-venv -c conda-forge "cmake>=3.24" git python=3.11 cython
Activate build environment
1
 conda activate tvm-build-venv
Enter
llvm-tvm1
cd $HOME/.llm/llvm-tvm
Shallowly (saves storage and speed) clone latest stable release (currently
v20.1.3) from LLVMLLVM version must be at least 15 (i.e.
LLVM >= 15) in order to work with TVM Unity compiler1
git clone --depth 1 --branch llvmorg-20.1.3 https://github.com/llvm/llvm-project.git
Create
buildandinstalldirectories for later use1
mkdir build install
Enter new LLVM directory
1
 cd llvm-project
Filter user branches from git fetch/pull
1
2
 git config --add remote.origin.fetch '^refs/heads/users/*'
 git config --add remote.origin.fetch '^refs/heads/revert-*'
Export
$PATHand$SDKROOT1 2
export PATH=$HOME/.llm/llvm-tvm/install/bin:$PATH export SDKROOT=$(xcrun --sdk macosx --show-sdk-path)
Optional: Add environment variables to your
.bashrc(or other shell startup file)1
echo -e 'export PATH=$HOME/.llm/llvm-tvm/install/bin:$PATH\nexport SDKROOT=$(xcrun --sdk macosx --show-sdk-path)' >> $HOME/.bashrc
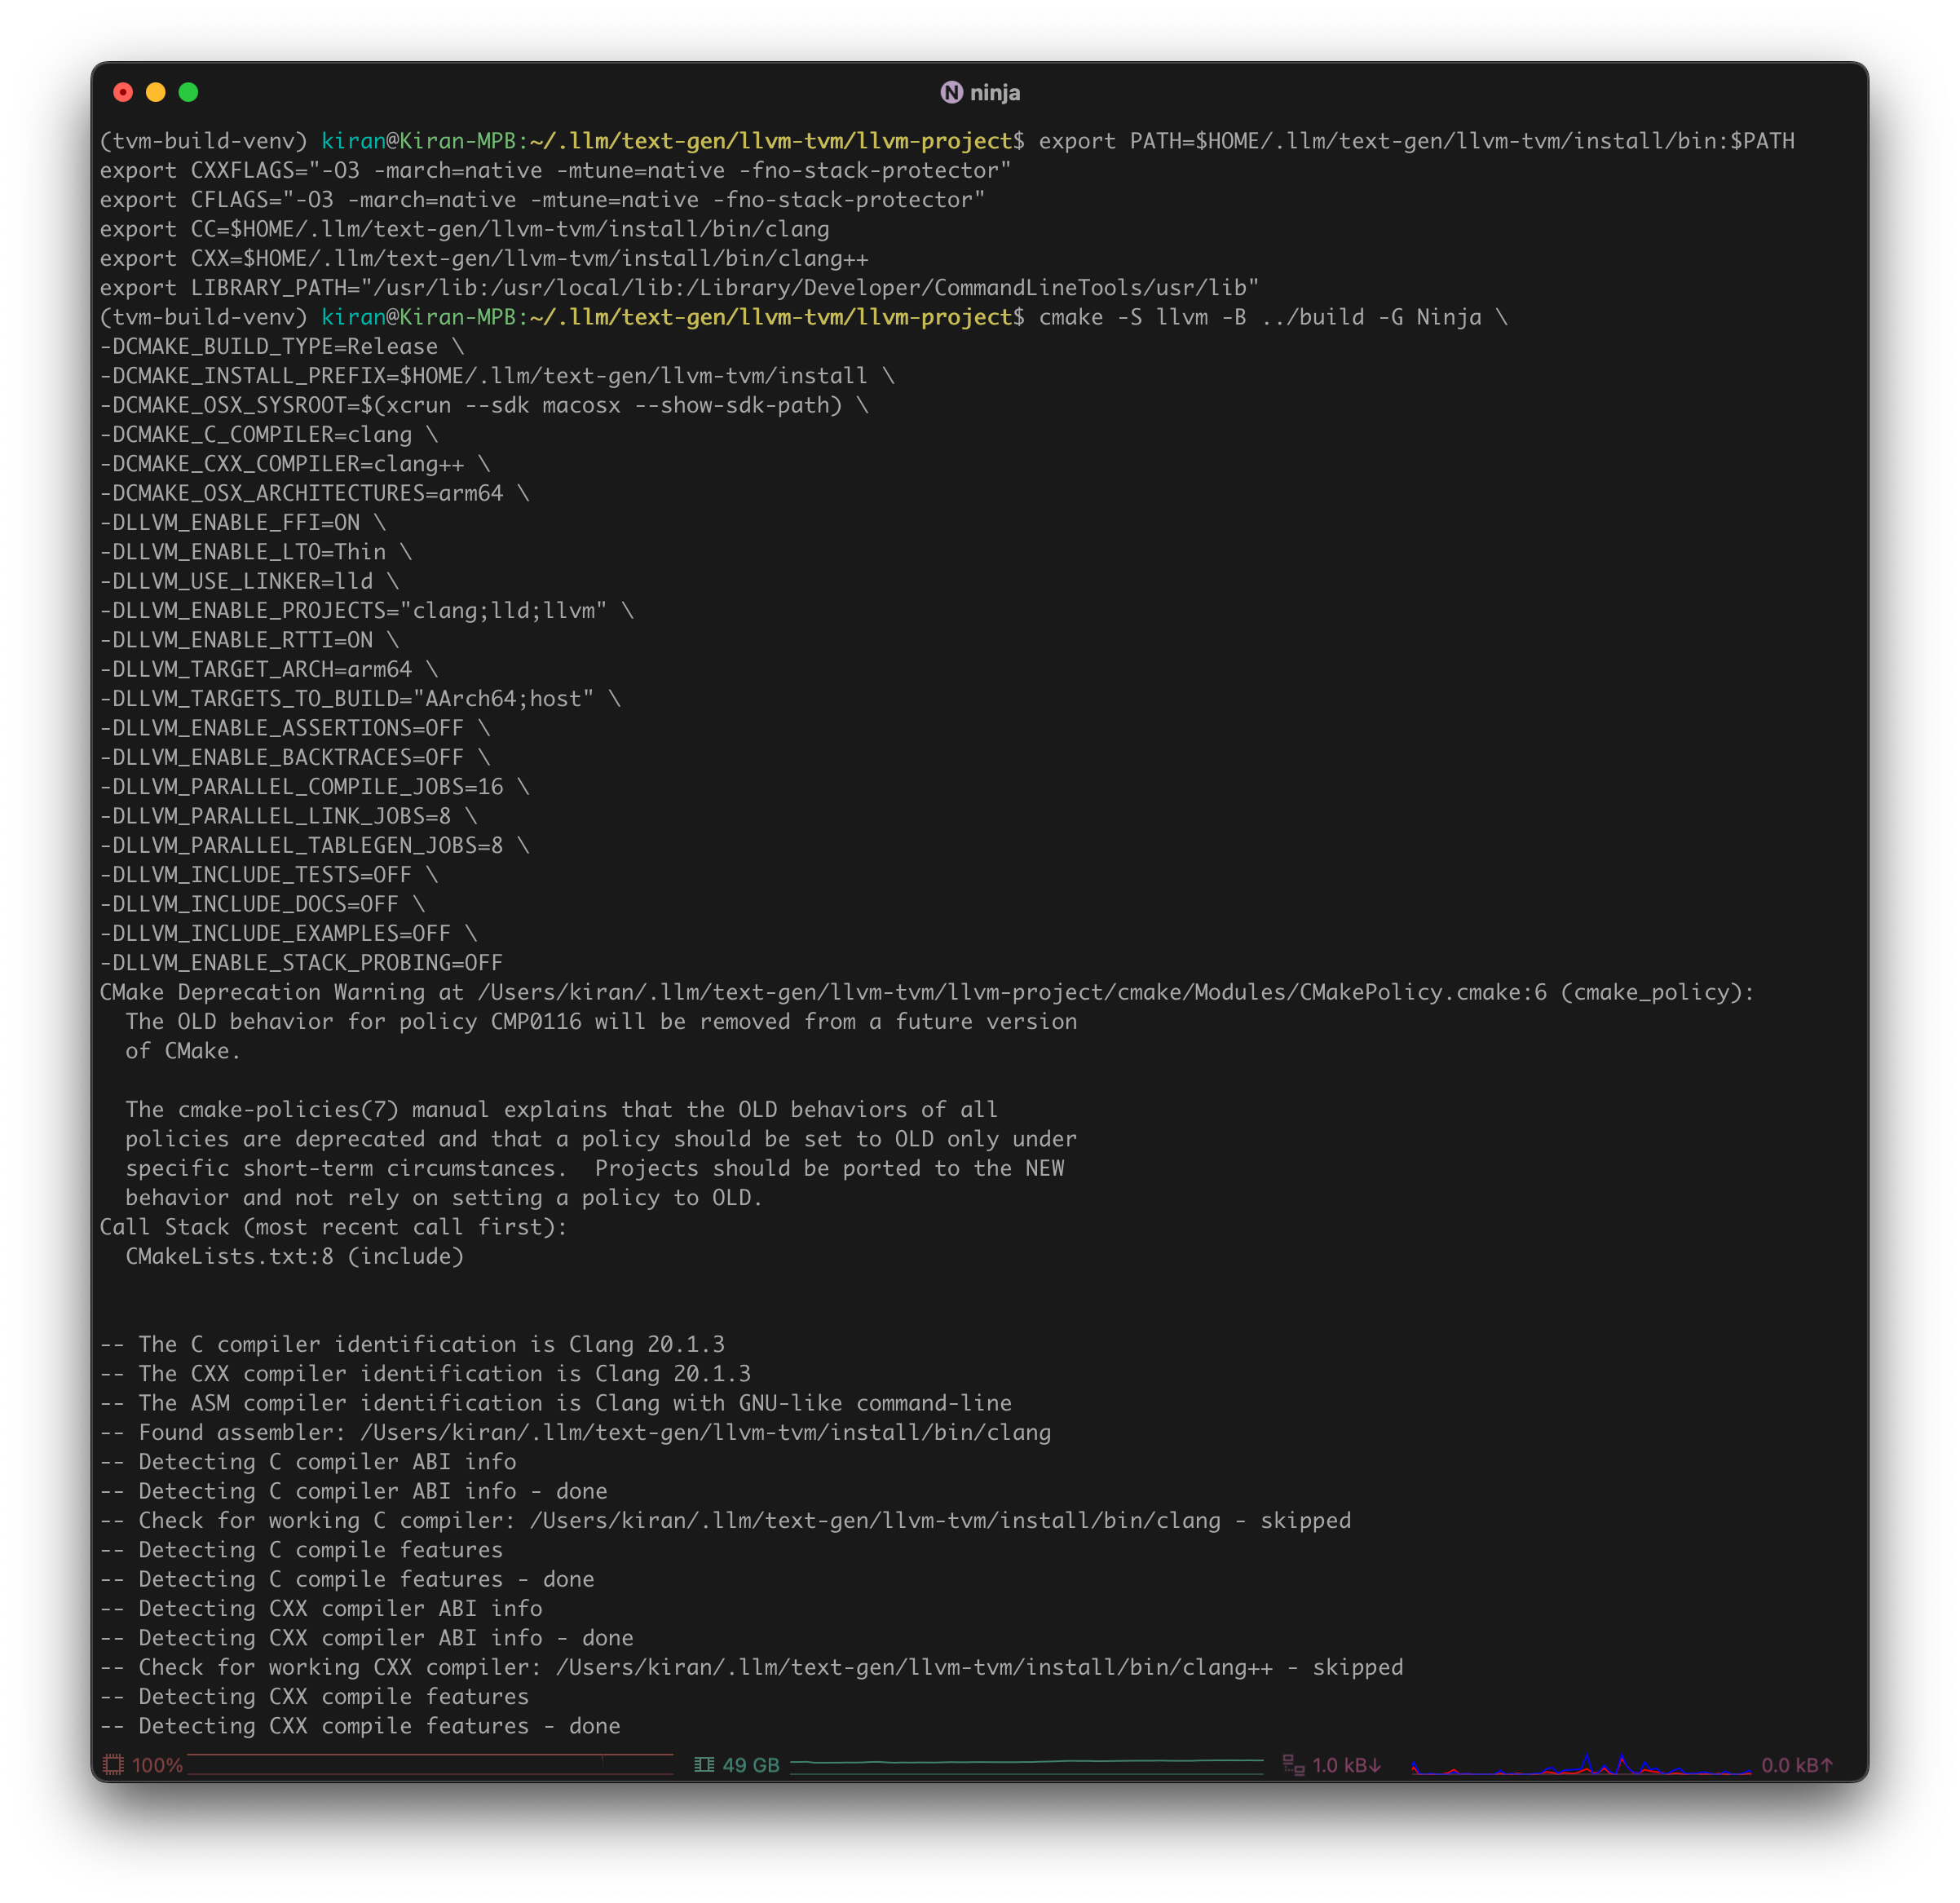
Configure and build LLVM, Clang, and LLD (i.e. LLVM linker)
1
2
3
4
5
6
7
8
9
10
11
12
13
14
15
16
17
18
19
20
21
22
23
24
25
26
 cmake -S llvm -B ../build -G Ninja \
 -DCMAKE_BUILD_TYPE=Release \
 -DCMAKE_INSTALL_PREFIX=$HOME/.llm/llvm-tvm/install \
 -DCMAKE_OSX_SYSROOT=$SDKROOT \
 -DCMAKE_C_COMPILER=$HOME/.llm/llvm-tvm/install/bin/clang \
 -DCMAKE_CXX_COMPILER=$HOME/.llm/llvm-tvm/install/bin/clang++ \
 -DCMAKE_CXX_FLAGS="-O3 -march=native -mtune=native -fno-stack-protector" \
 -DCMAKE_C_FLAGS="-O3 -march=native -mtune=native -fno-stack-protector" \
 -DCMAKE_LIBRARY_PATH="/usr/lib:/usr/local/lib:/Library/Developer/CommandLineTools/usr/lib" \
 -DCMAKE_OSX_ARCHITECTURES=arm64 \
 -DLLVM_ENABLE_FFI=ON \
 -DLLVM_ENABLE_LTO=Thin \
 -DLLVM_USE_LINKER=lld \
 -DLLVM_ENABLE_PROJECTS="clang;lld;llvm" \
 -DLLVM_ENABLE_RTTI=ON \
 -DLLVM_TARGET_ARCH=arm64 \
 -DLLVM_TARGETS_TO_BUILD="AArch64;host" \
 -DLLVM_ENABLE_ASSERTIONS=OFF \
 -DLLVM_ENABLE_BACKTRACES=OFF \
 -DLLVM_PARALLEL_COMPILE_JOBS=$(sysctl -n hw.logicalcpu) \
 -DLLVM_PARALLEL_LINK_JOBS=$(($(sysctl -n hw.logicalcpu) / 2)) \
 -DLLVM_PARALLEL_TABLEGEN_JOBS=$(($(sysctl -n hw.logicalcpu) / 2)) \
 -DLLVM_INCLUDE_TESTS=OFF \
 -DLLVM_INCLUDE_DOCS=OFF \
 -DLLVM_INCLUDE_EXAMPLES=OFF \
 -DLLVM_OPTIMIZED_TABLEGEN=ON
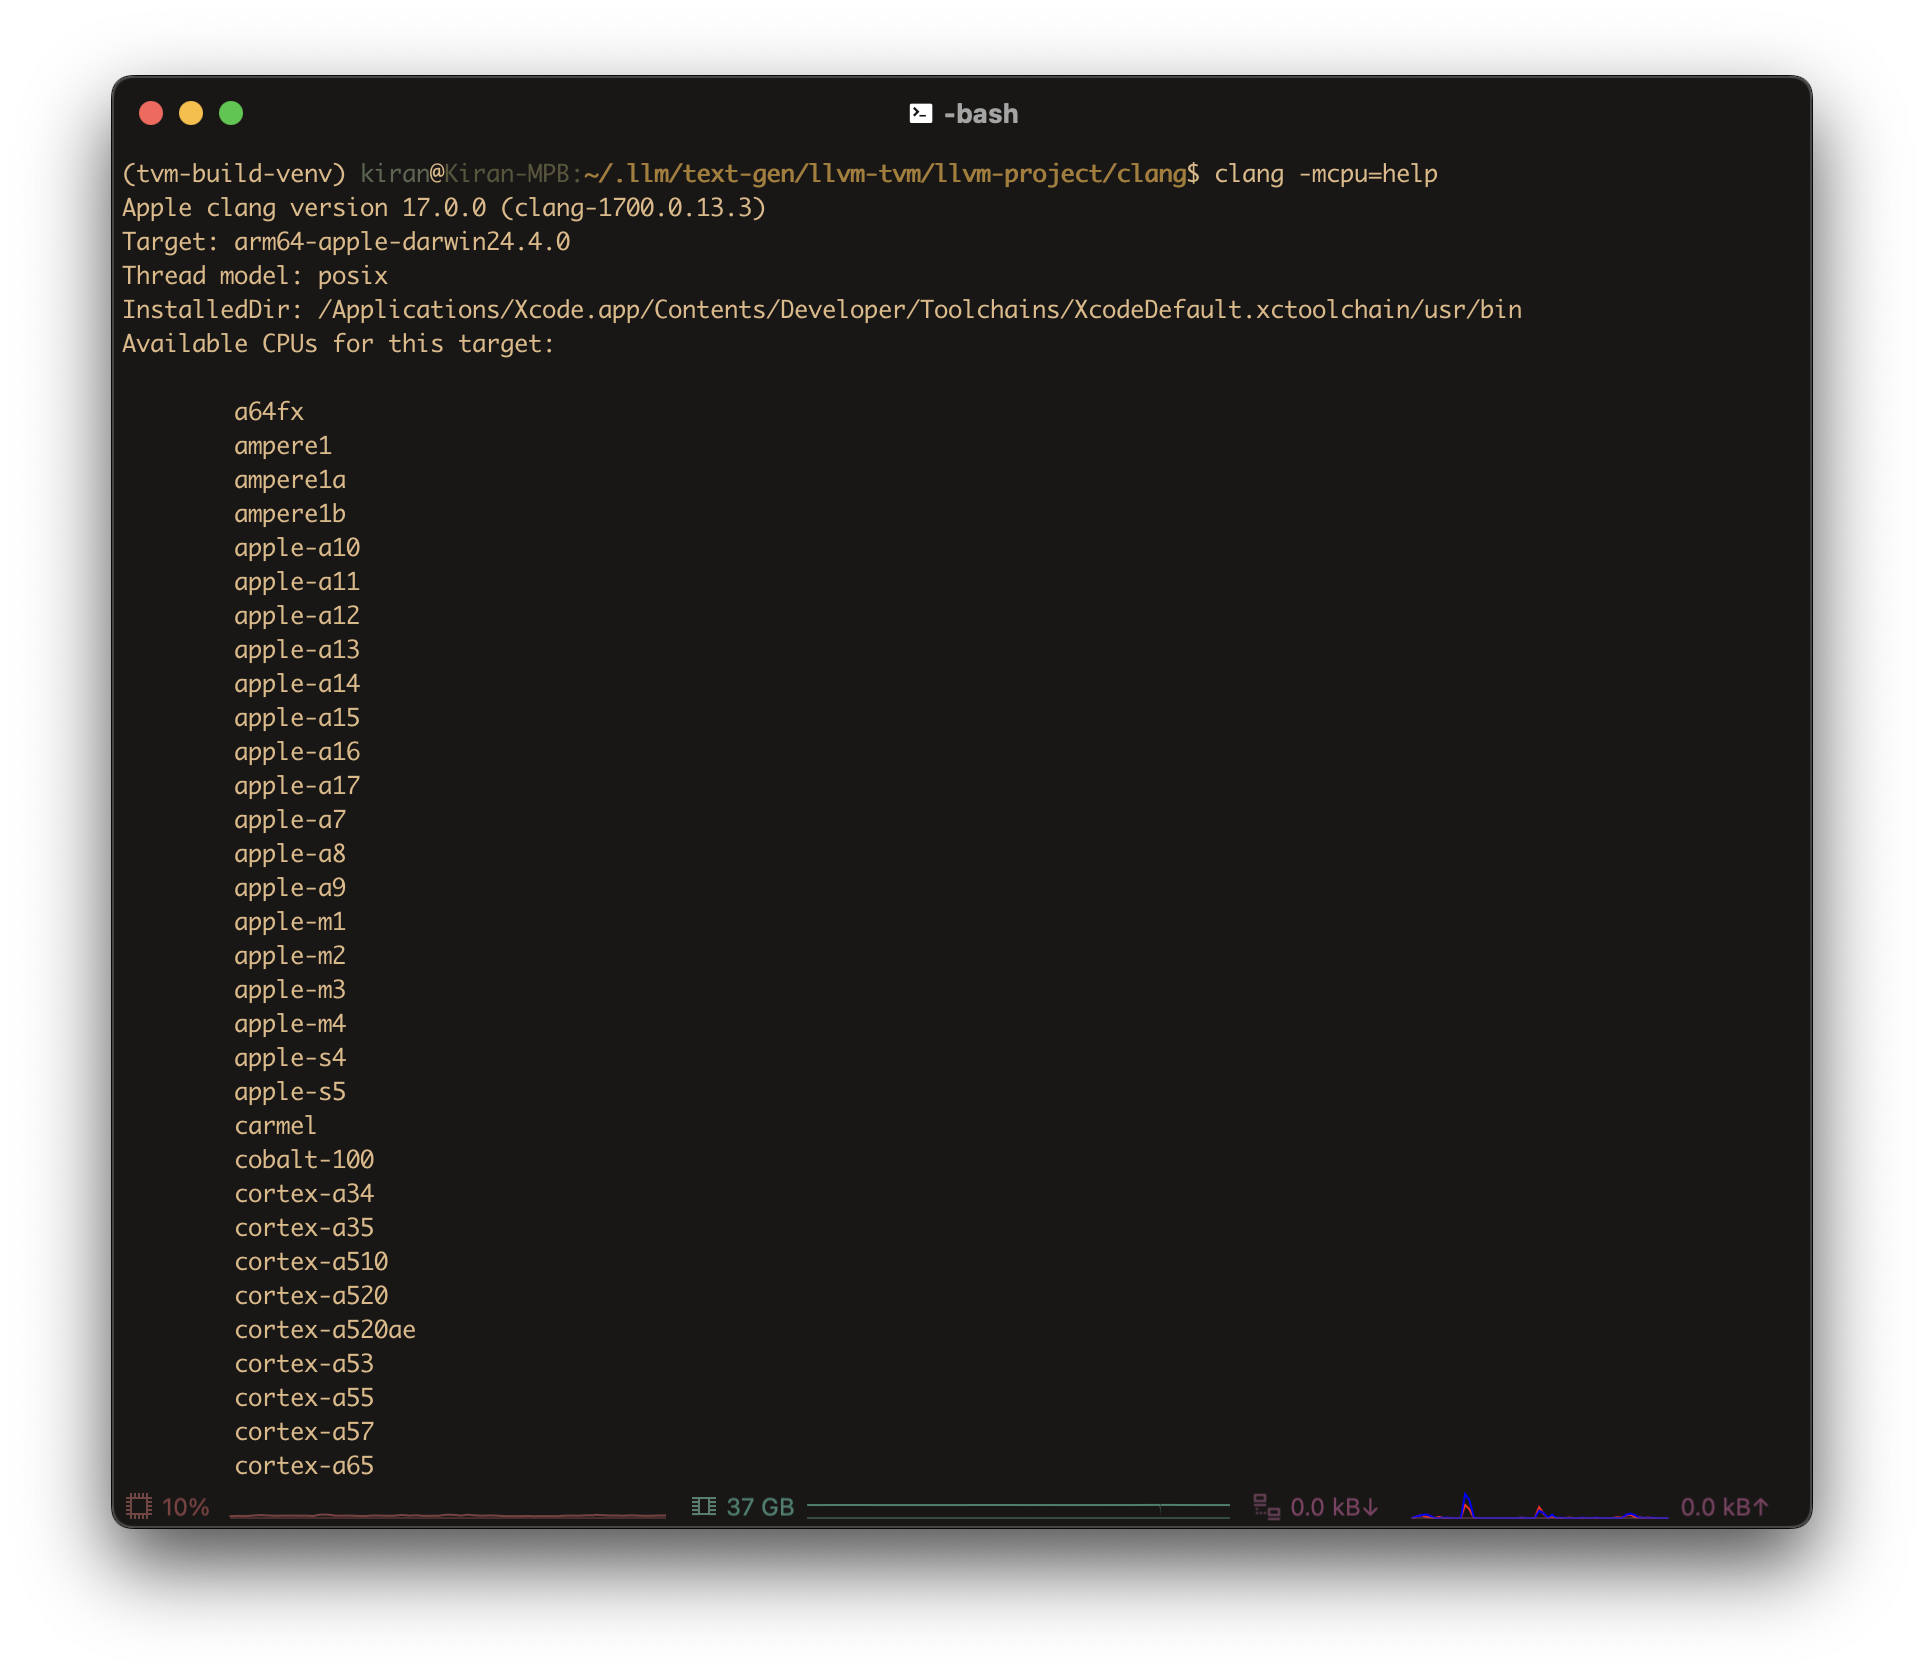
List valid compiler flags
1
clang -mcpu=help
List valid CMake flags with
ccmake1
ccmake .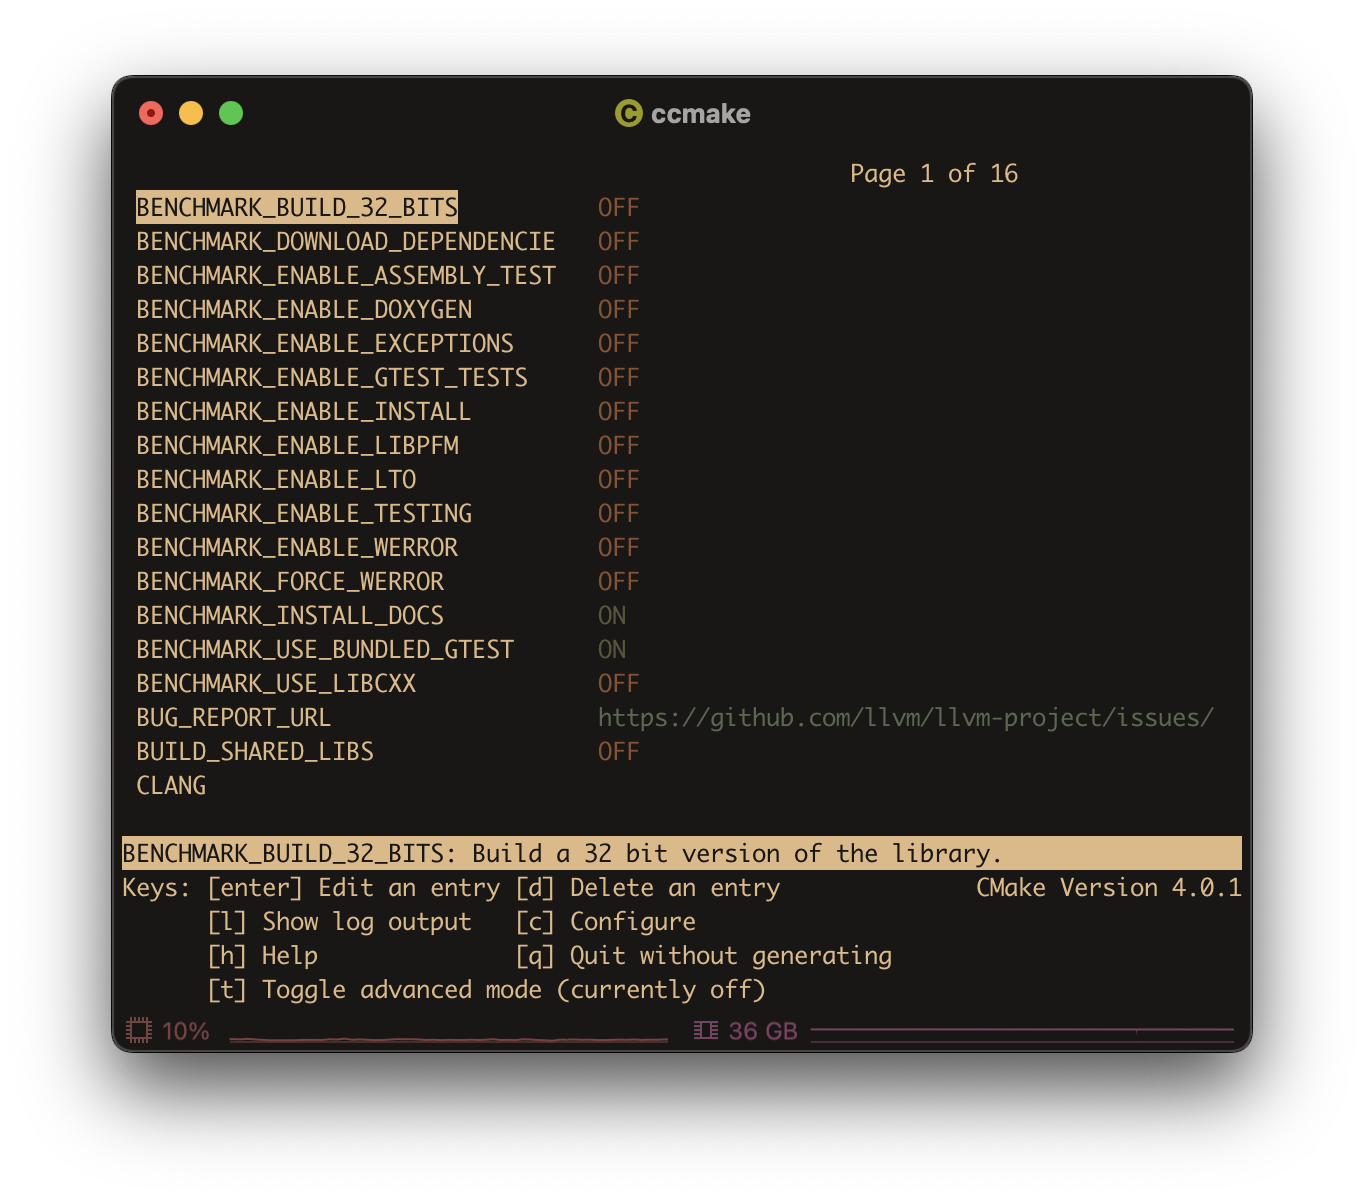
List valid CMake flags with
cmake1
cmake -L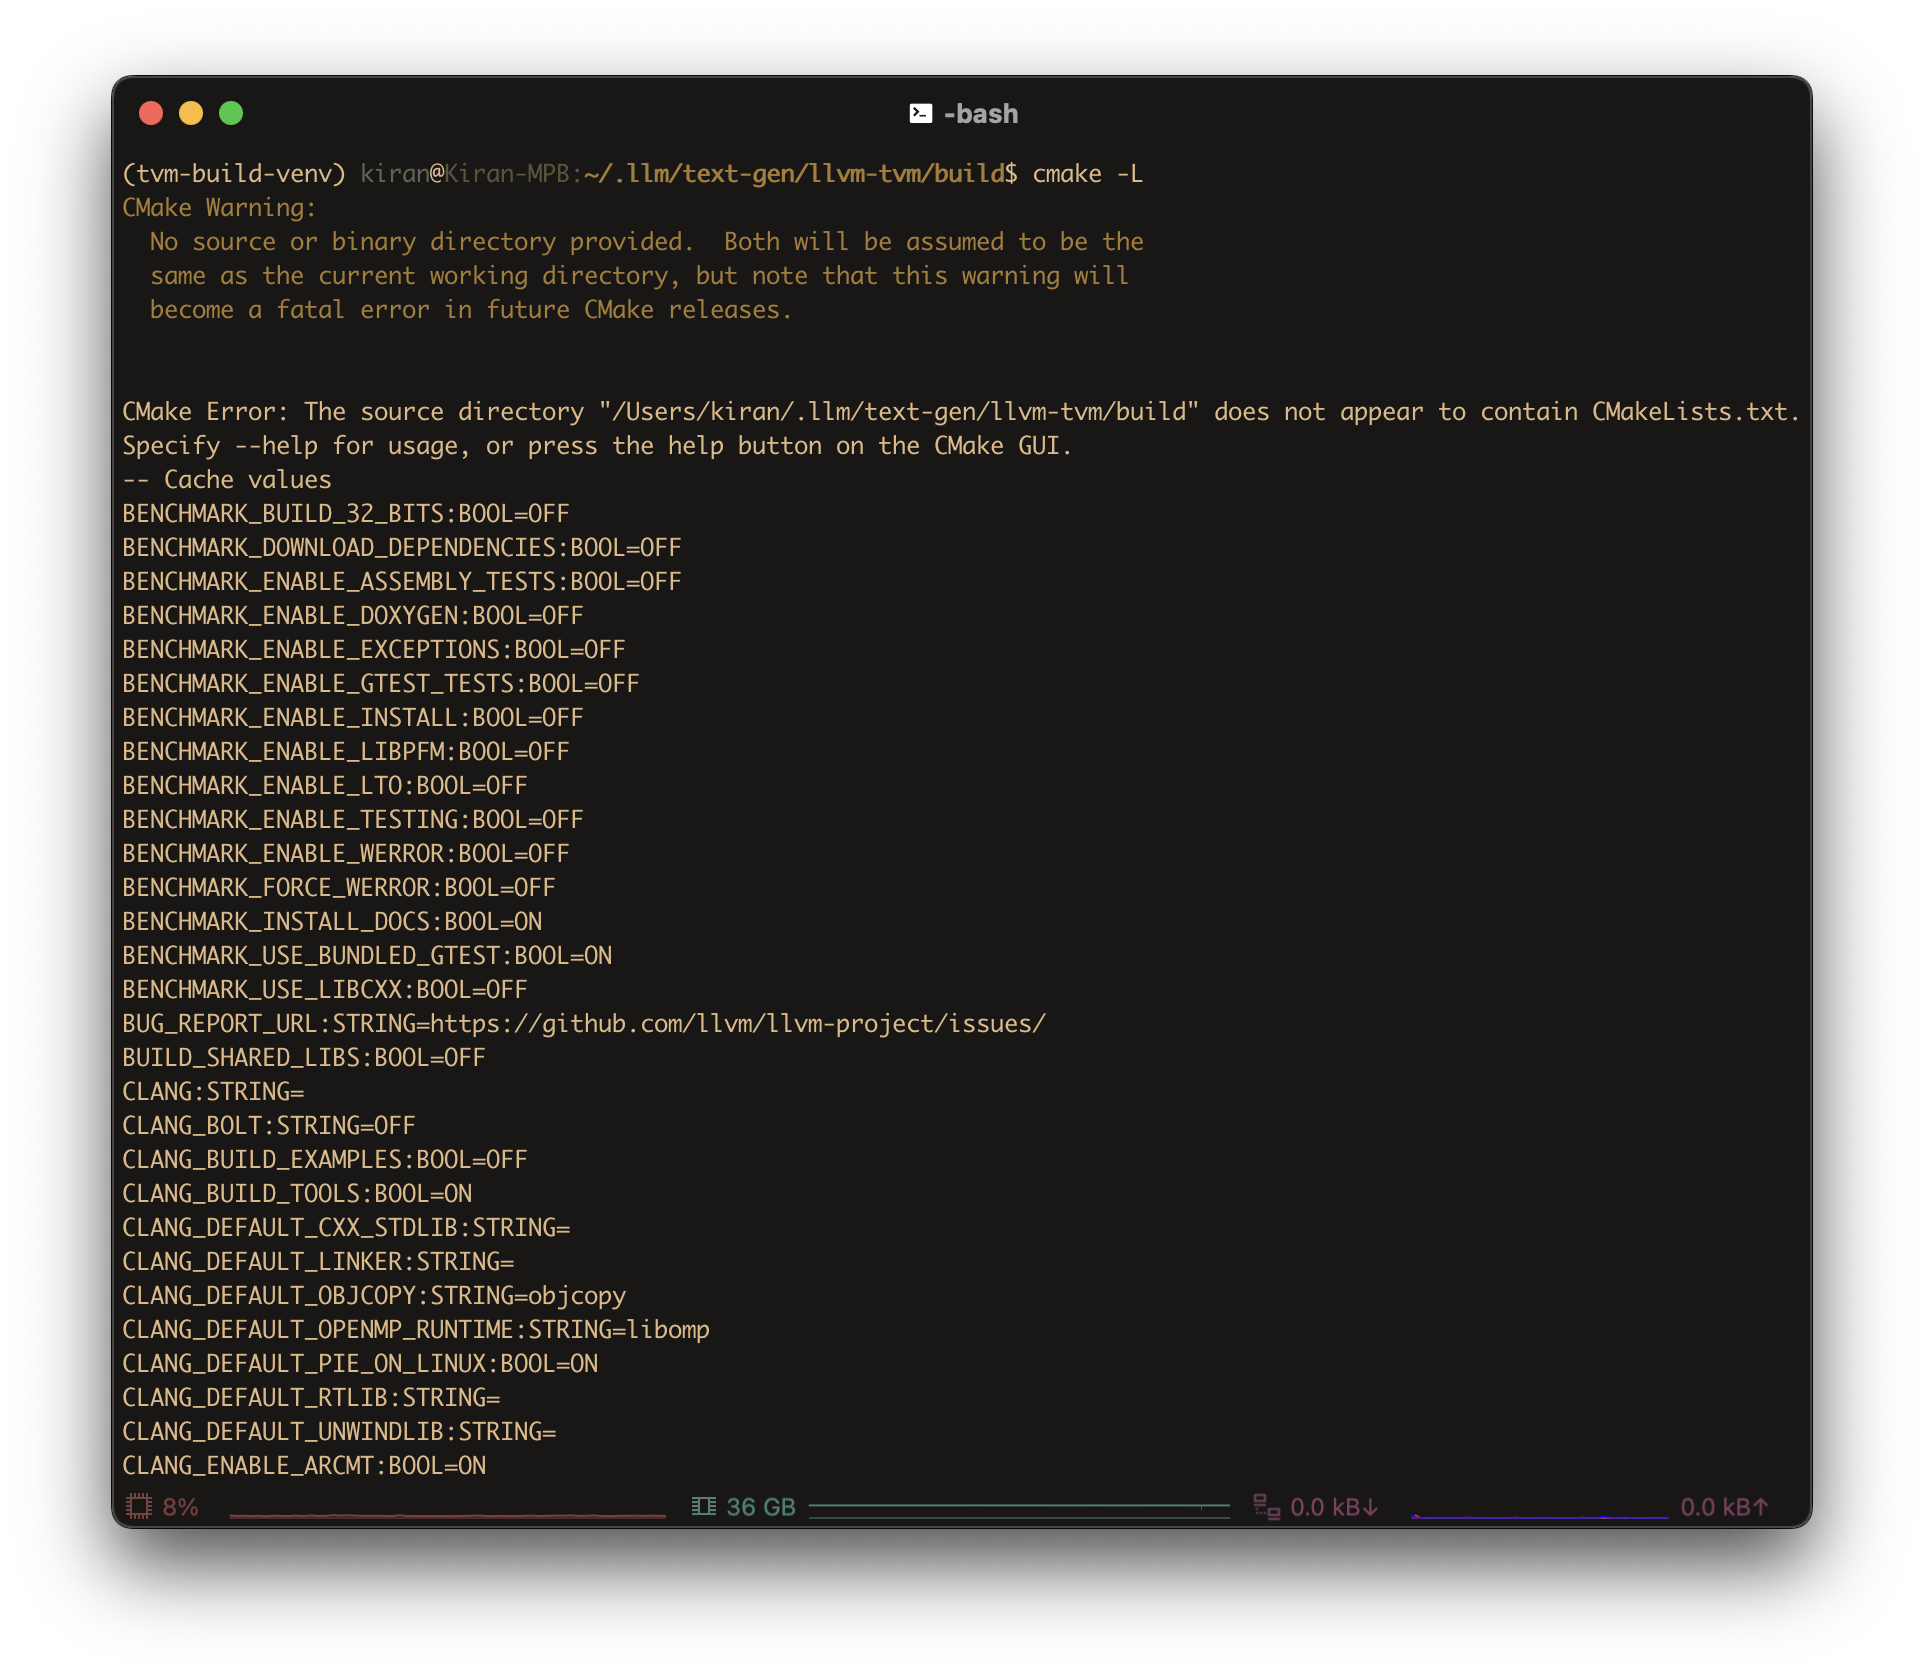
Go to
build1
cd ../buildRun
ninja1
ninja
Use
-vflag to see which command is running:1
ninja -vSpecify
ninjaas your default generator:1
export CMAKE_GENERATOR=Ninja
The following text is LLM-generated and explains why the last part of a
ninjabuild might feel slow and/or long:- Front-loading parallel work: Ninja is extremely parallel — early on, it schedules as many jobs as possible. If you have 16 jobs running (like in your setup), it chews through the easy/independent stuff fast.
- Dependency chains bottleneck: Near the end, many remaining files depend on the completion of earlier ones. So ninja can’t start them in parallel — it must wait. You end up with fewer and fewer jobs running, sometimes just one.
- Final linking is heavy: The very last steps — especially linking large binaries like
clangorlld— take a ton of CPU and memory, and they can’t be parallelized much. This slows things down dramatically. - Perceived slowness: Early on, ninja might do 500 steps in 30 seconds. Near the end, it might do just 10 steps in 30 seconds. So it feels slower, even though it’s just hitting the heavy stuff.
Install via
ninja1
ninja install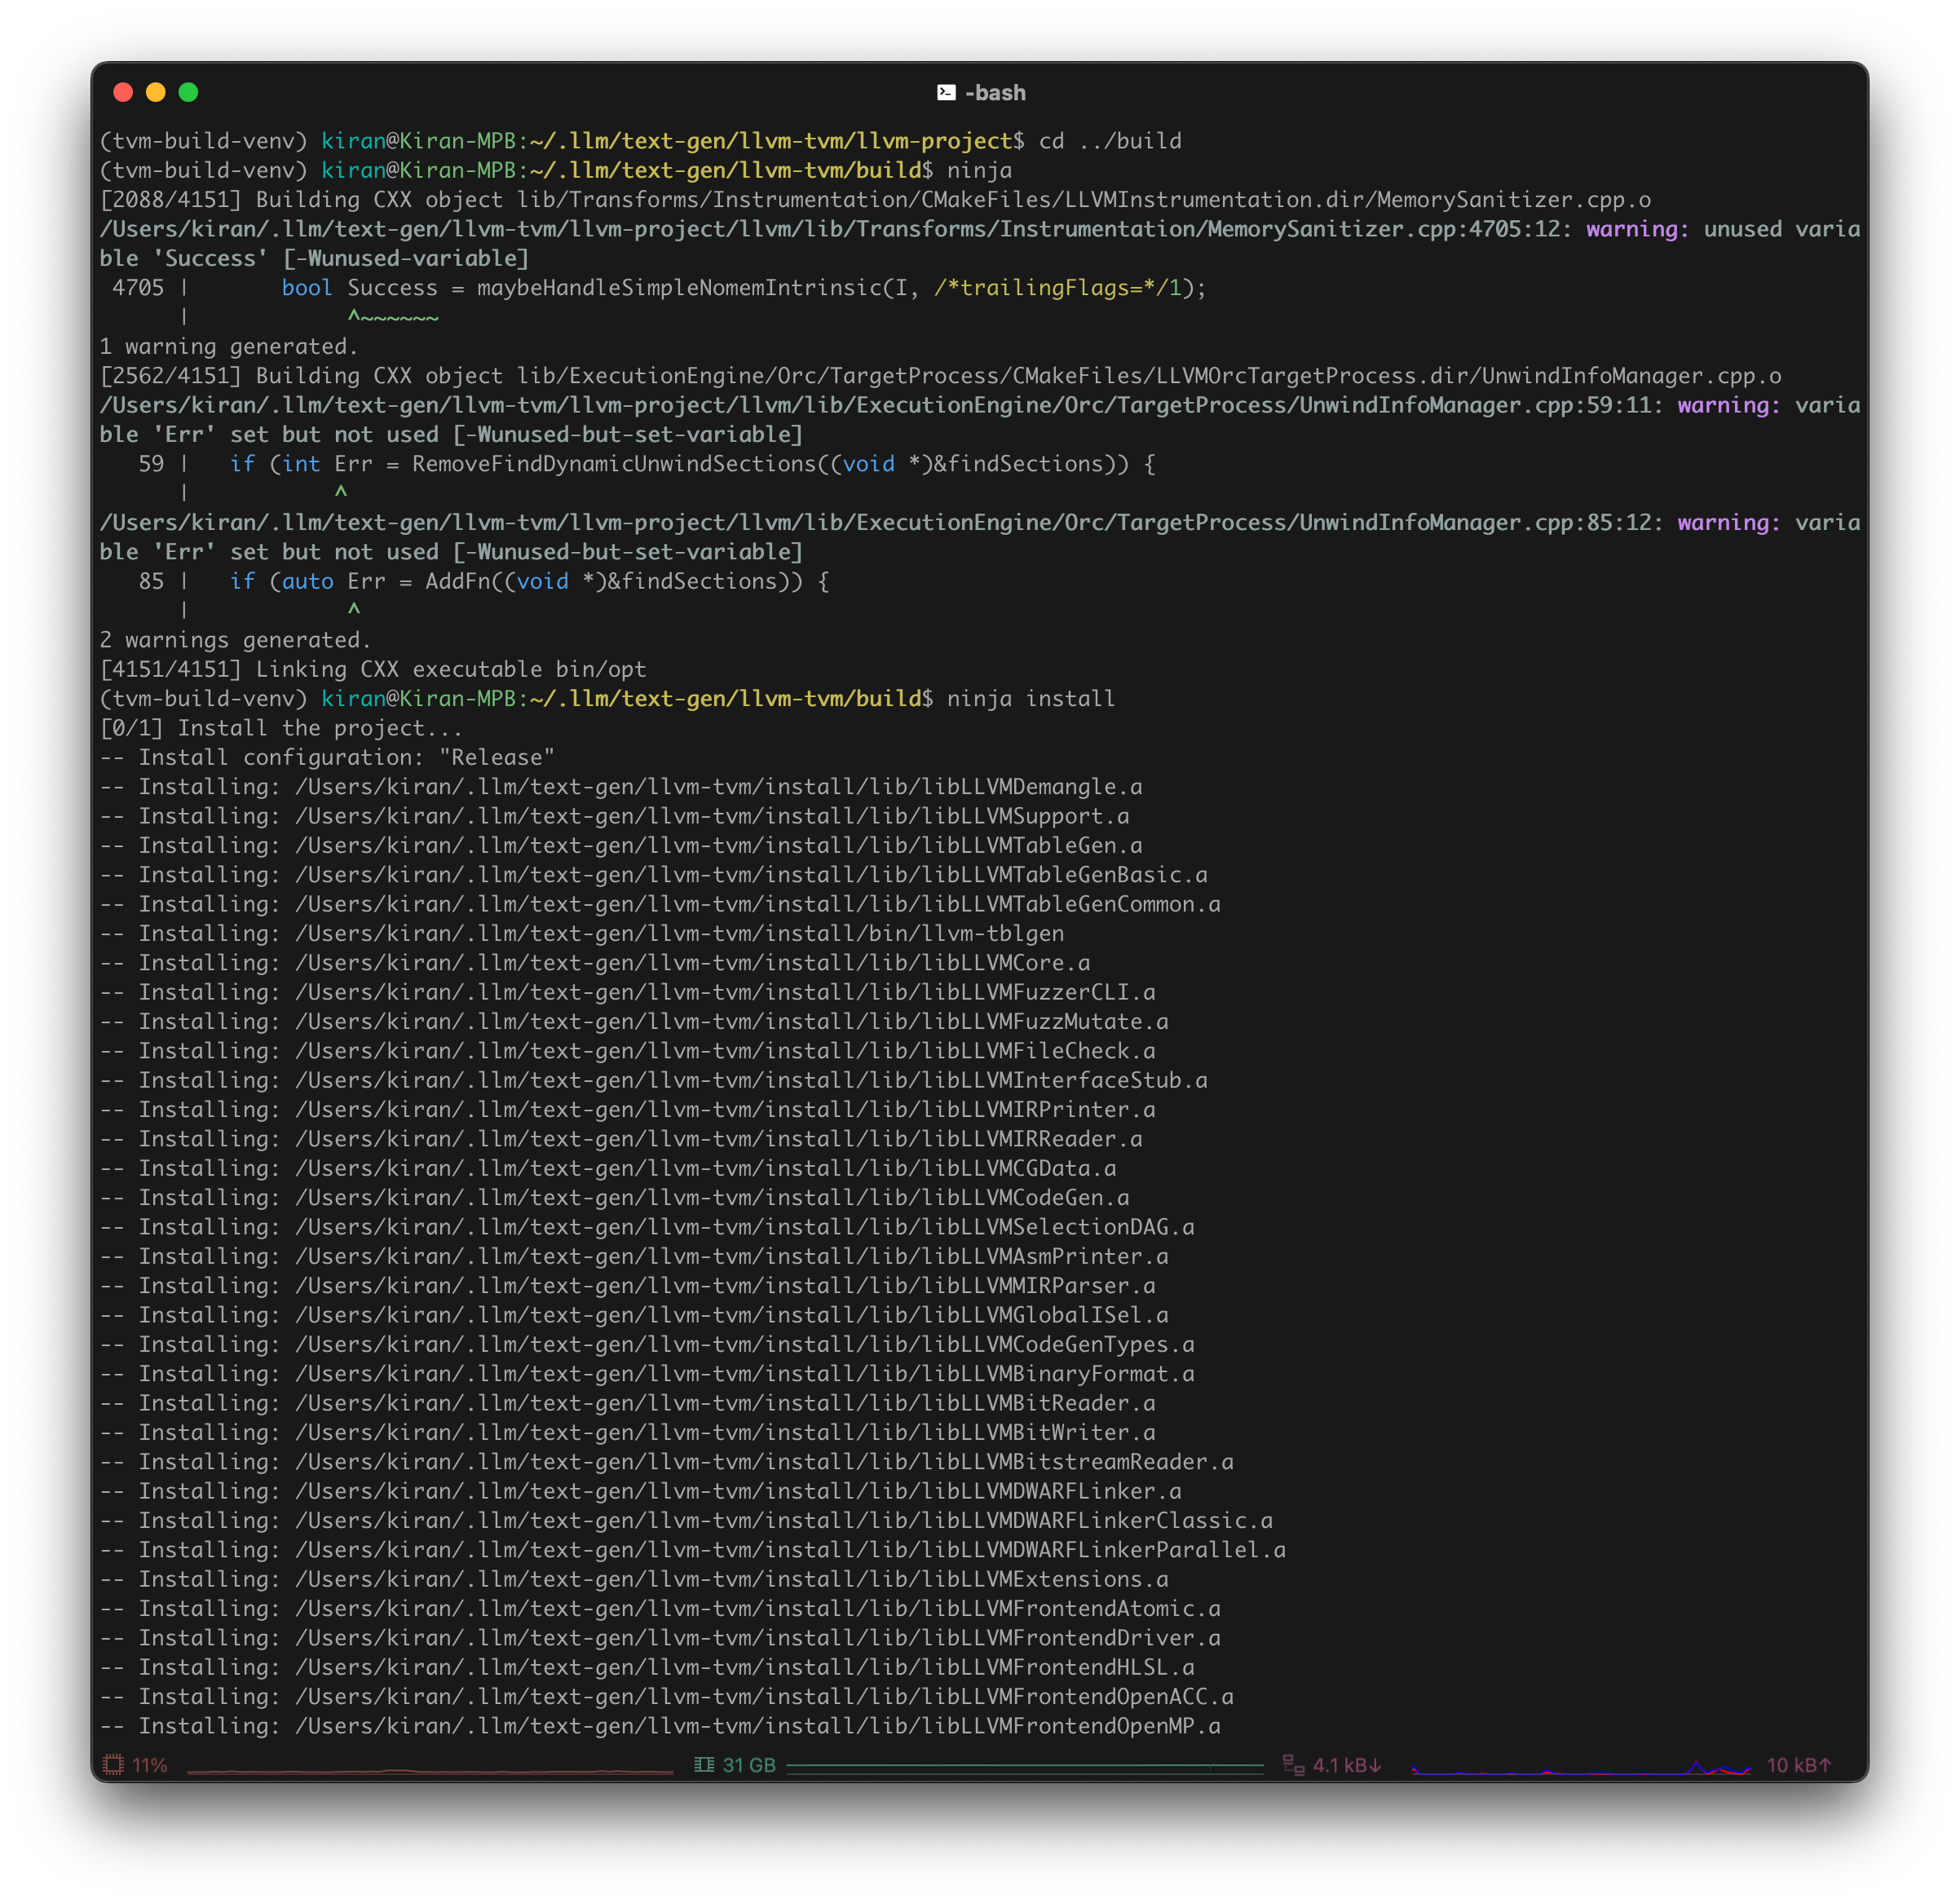
Confirm that LLVM was compiled with support for Arm(R)-based targets
1
2
3
$HOME/.llm/llvm-tvm/install/bin/llvm-config --version
$HOME/.llm/llvm-tvm/install/bin/llvm-config --targets-built
$HOME/.llm/llvm-tvm/install/bin/llvm-config --host-target
Should output something similar to:
1
2
3
20.1.3
AArch64
arm64-apple-darwin24.4.0
Part 2: TVM Unity Compiler
Make sure
tvm-build-venvConda environment is activated:
Enter
tvm-unity1
cd $HOME/.llm/tvm-unity
Clone TVM Unity from GitHub
1
git clone --recursive https://github.com/mlc-ai/relax.git tvm-unityCreate
buildandinstalldirectories for later use1
mkdir build install
Enter
build1
cd buildEnsure TVM uses custom LLVM (so it uses the right one when you
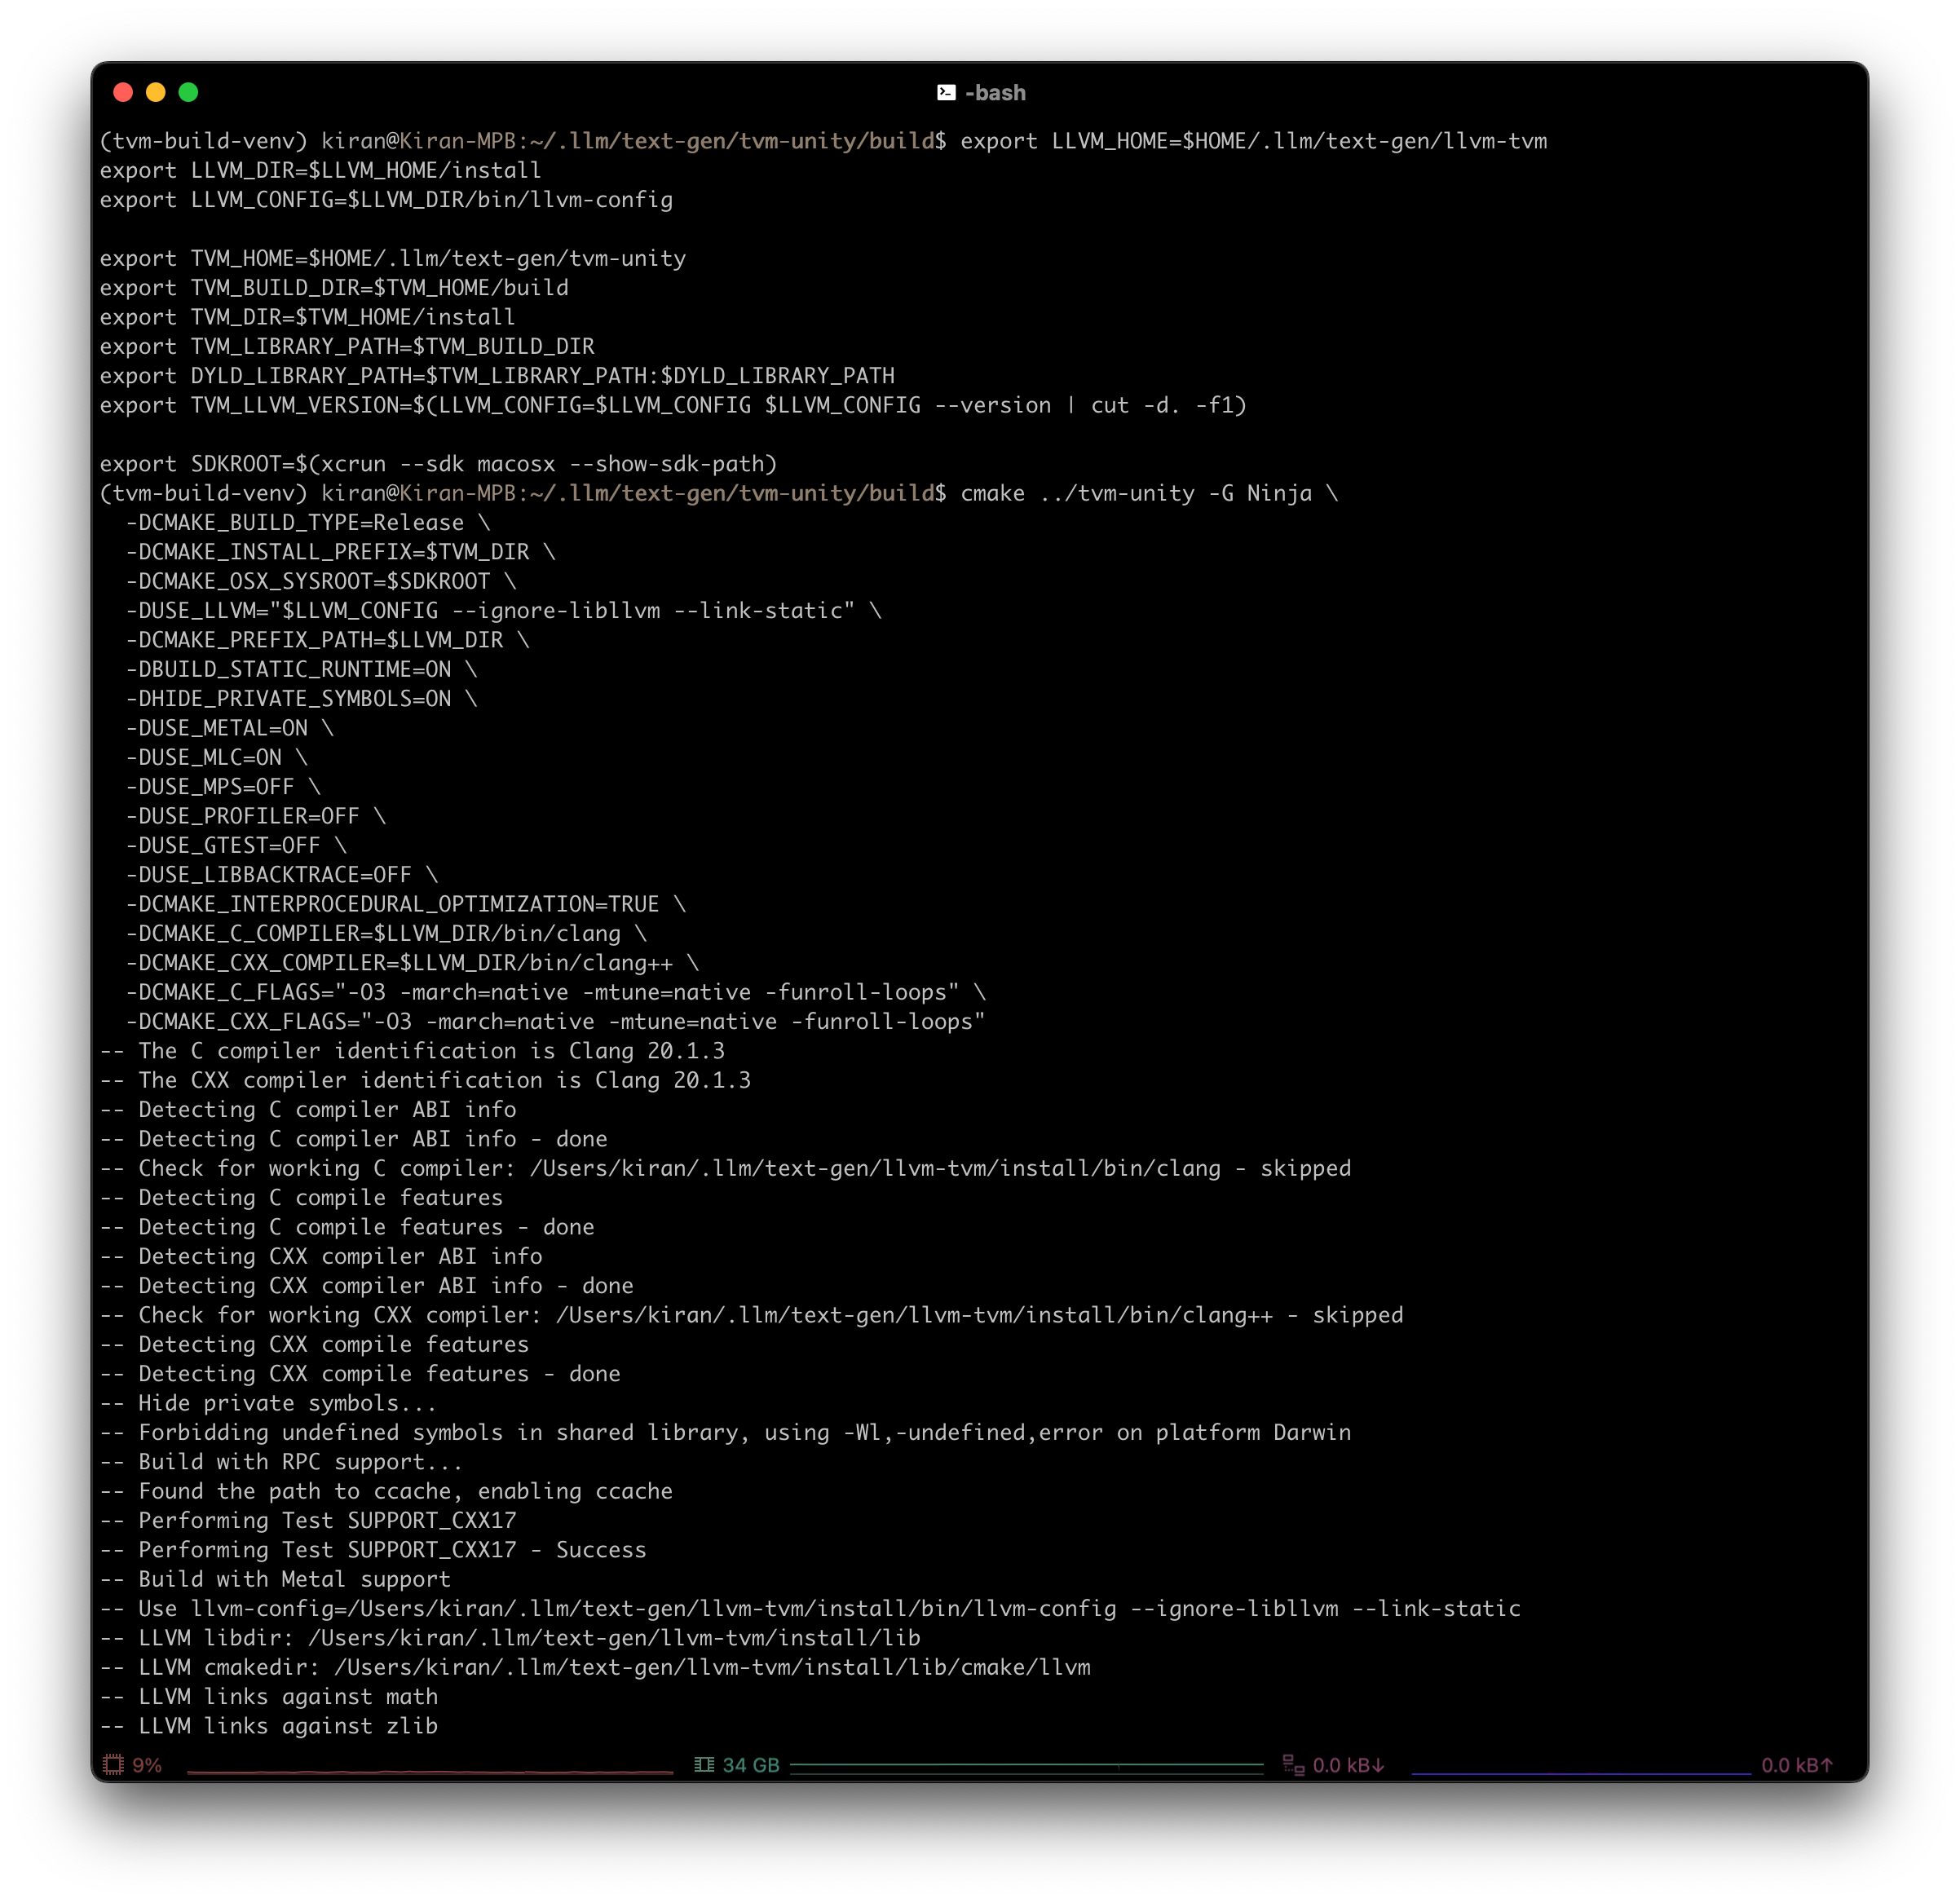
import tvmin Python)1 2 3 4 5 6 7
export LLVM_HOME=$HOME/.llm/llvm-tvm export LLVM_CONFIG=$LLVM_HOME/install/bin/llvm-config export TVM_HOME=$HOME/.llm/tvm-unity export TVM_LIBRARY_PATH=$TVM_HOME/build export DYLD_LIBRARY_PATH=$TVM_LIBRARY_PATH:$DYLD_LIBRARY_PATH export TVM_LLVM_VERSION=$(LLVM_CONFIG=$LLVM_CONFIG $LLVM_CONFIG --version | cut -d. -f1)
Optional: Add environment variables to your
.bashrc(or other shell startup file)1
echo -e 'export LLVM_HOME=$HOME/.llm/llvm-tvm\nexport LLVM_CONFIG=$LLVM_HOME/install/bin/llvm-config\nexport TVM_HOME=$HOME/.llm/tvm-unity\nexport TVM_LIBRARY_PATH=$TVM_HOME/build\nexport DYLD_LIBRARY_PATH=$TVM_LIBRARY_PATH:$DYLD_LIBRARY_PATH\nexport TVM_LLVM_VERSION=$(LLVM_CONFIG=$LLVM_CONFIG $LLVM_CONFIG --version | cut -d. -f1)' >> $HOME/.bashrc
Configure build
1 2 3 4 5 6 7 8 9 10 11 12 13 14 15 16 17 18 19
cmake ../tvm-unity -G Ninja \ -DCMAKE_BUILD_TYPE=Release \ -DCMAKE_INSTALL_PREFIX=$TVM_HOME/install \ -DCMAKE_OSX_SYSROOT=$SDKROOT \ -DUSE_LLVM="$LLVM_CONFIG --ignore-libllvm --link-static" \ -DCMAKE_OSX_ARCHITECTURES=arm64 \ -DCMAKE_PREFIX_PATH=$LLVM_HOME/install \ -DBUILD_STATIC_RUNTIME=ON \ -DHIDE_PRIVATE_SYMBOLS=ON \ -DUSE_METAL=ON \ -DUSE_MPS=OFF \ -DUSE_GTEST=OFF \ -DUSE_LIBBACKTRACE=OFF \ -DCMAKE_INTERPROCEDURAL_OPTIMIZATION=TRUE \ -DCMAKE_C_COMPILER=$LLVM_HOME/install/bin/clang \ -DCMAKE_CXX_COMPILER=$LLVM_HOME/install/bin/clang++ \ -DCMAKE_C_FLAGS="-O3 -mcpu=native -march=native -funroll-loops" \ -DCMAKE_CXX_FLAGS="-O3 -mcpu=native -march=native -funroll-loops" \ -DCMAKE_EXE_LINKER_FLAGS="-Wl,-S"
If you’re compiling heavily vectorized code, you might want to explore
-fvectorizeor-fassociative-mathforDCMAKE_C_FLAGSandDCMAKE_CXX_FLAGSBuild
1
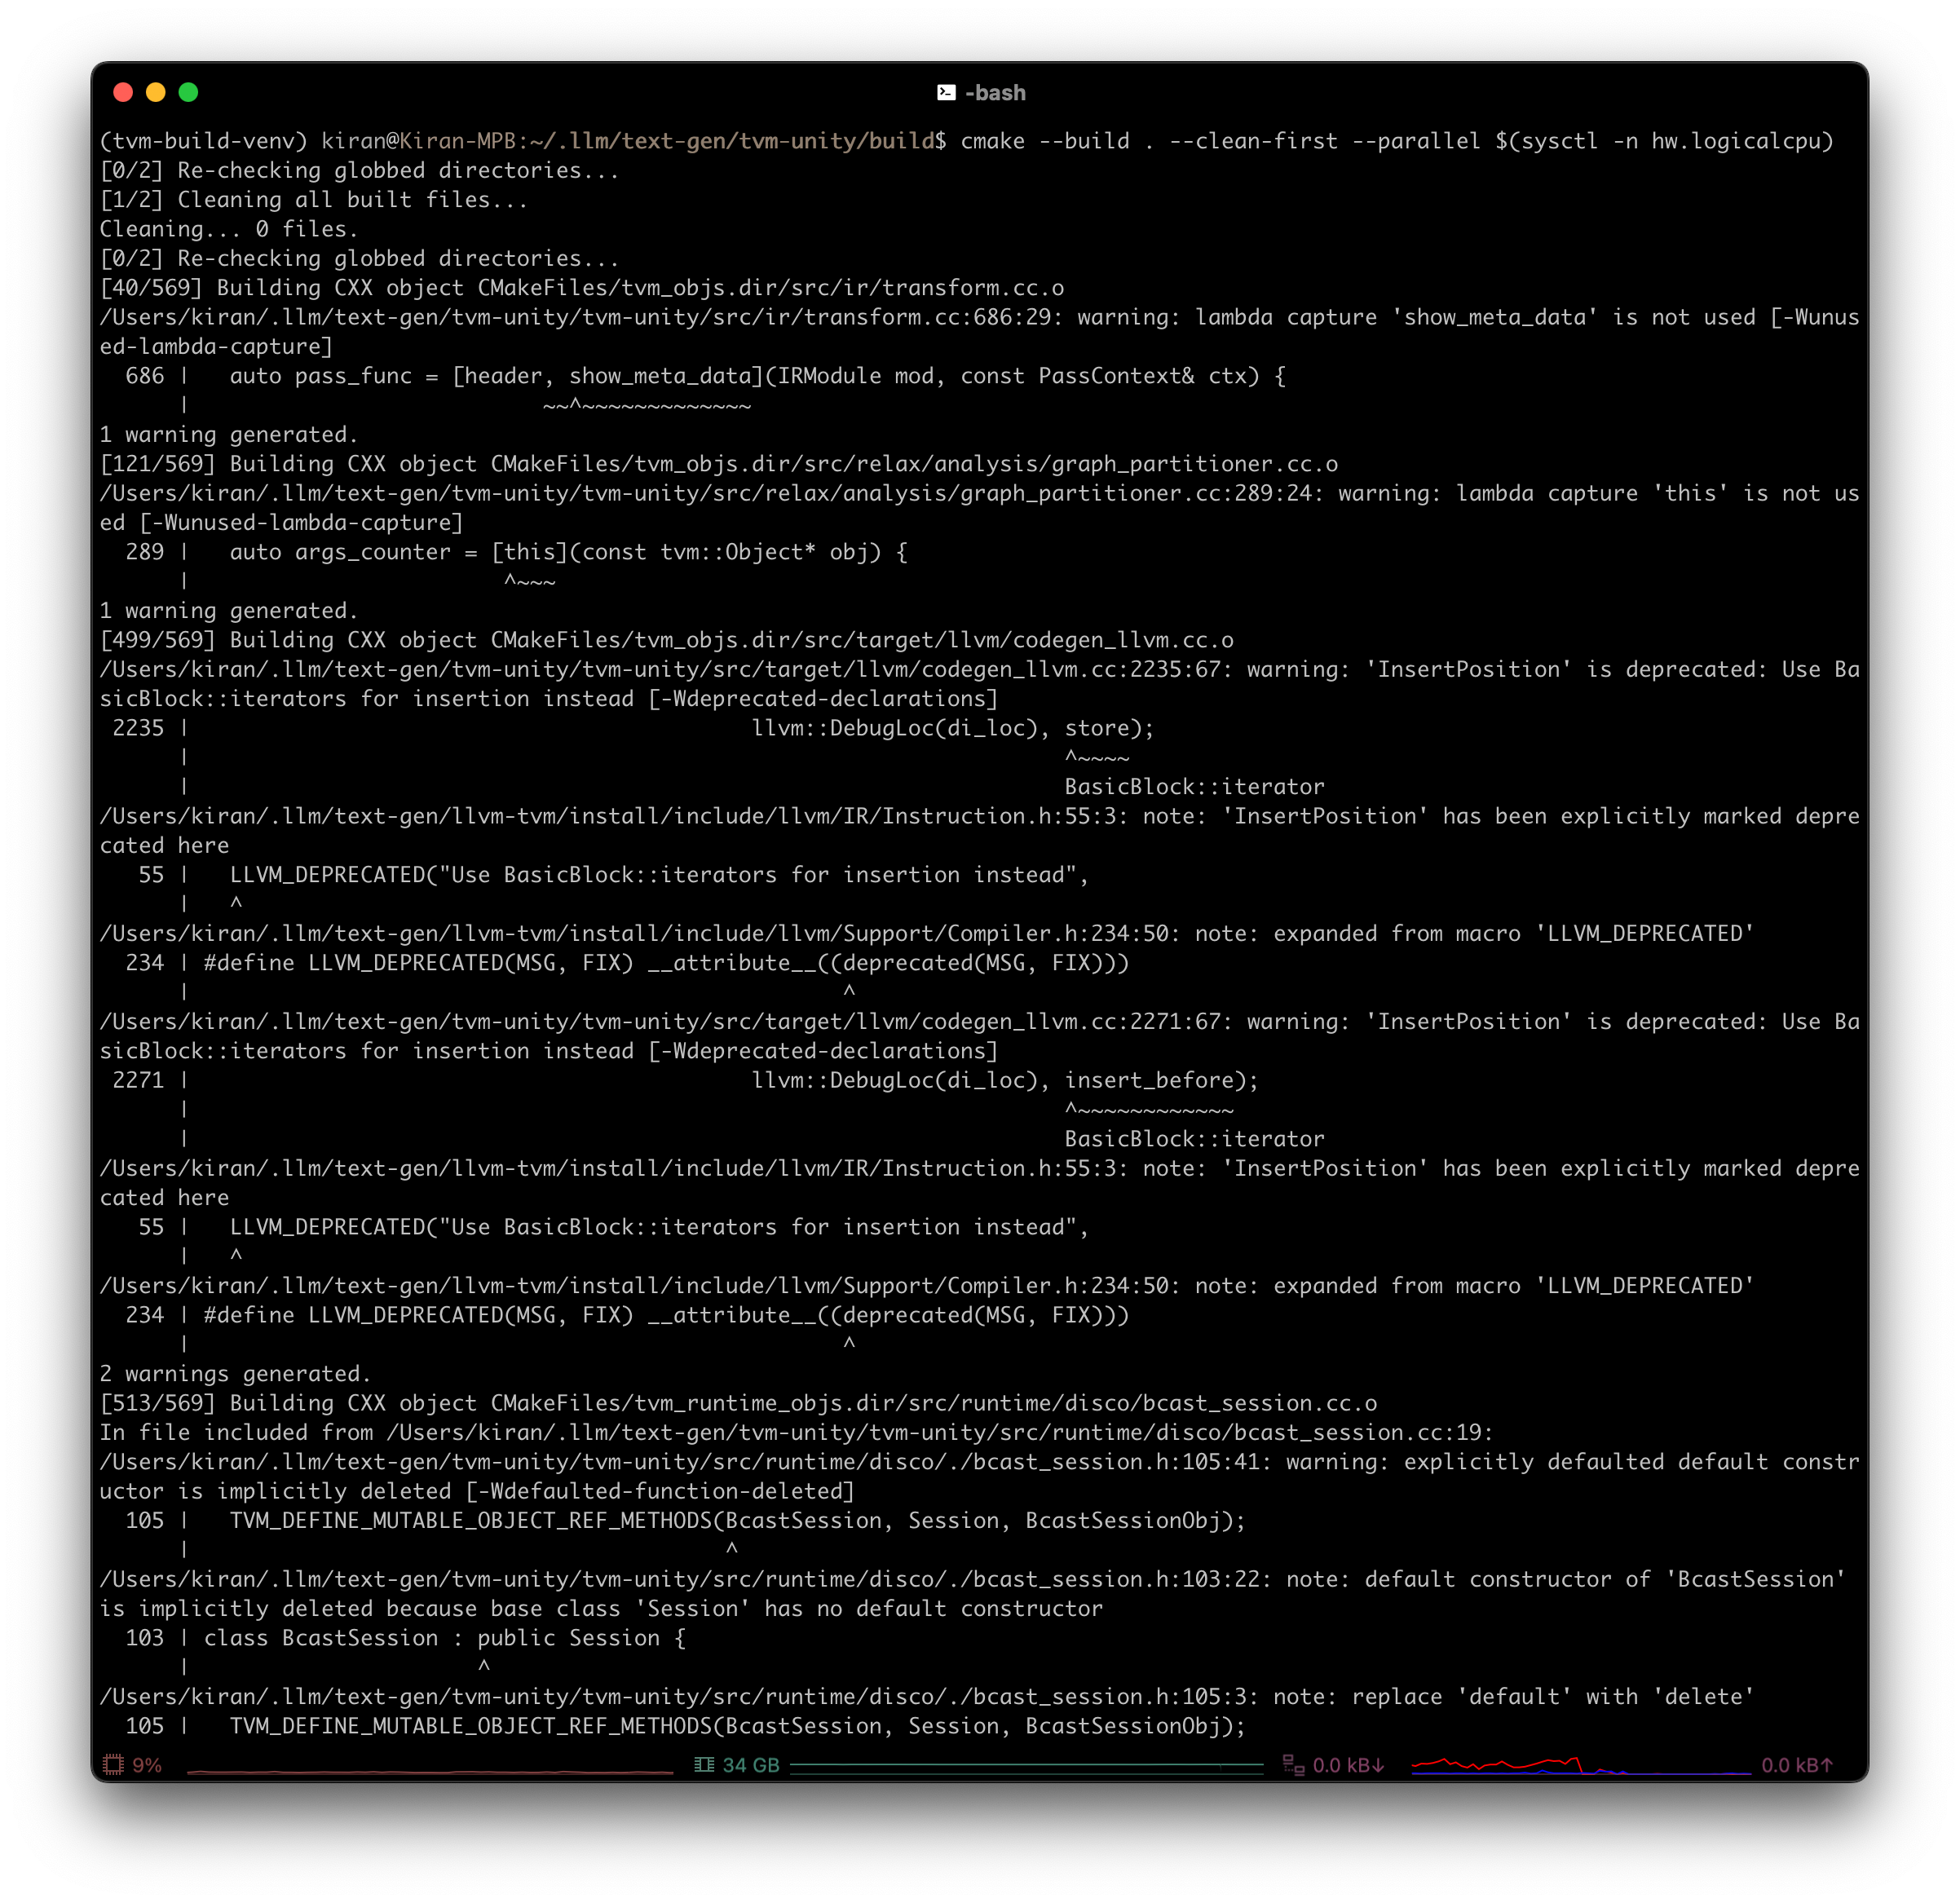
cmake --build . --parallel $(sysctl -n hw.logicalcpu)
If you don’t need to reuse any previous build data (e.g.
ccacheor incremental builds), include--clean-firstflag to force clean a build (might help with memory)1
cmake --build . --clean-first --parallel $(sysctl -n hw.logicalcpu)
If successful, you should have both
libtvmandlibtvm_runtimewithin$HOME/.llm/tvm-unity/builddirectory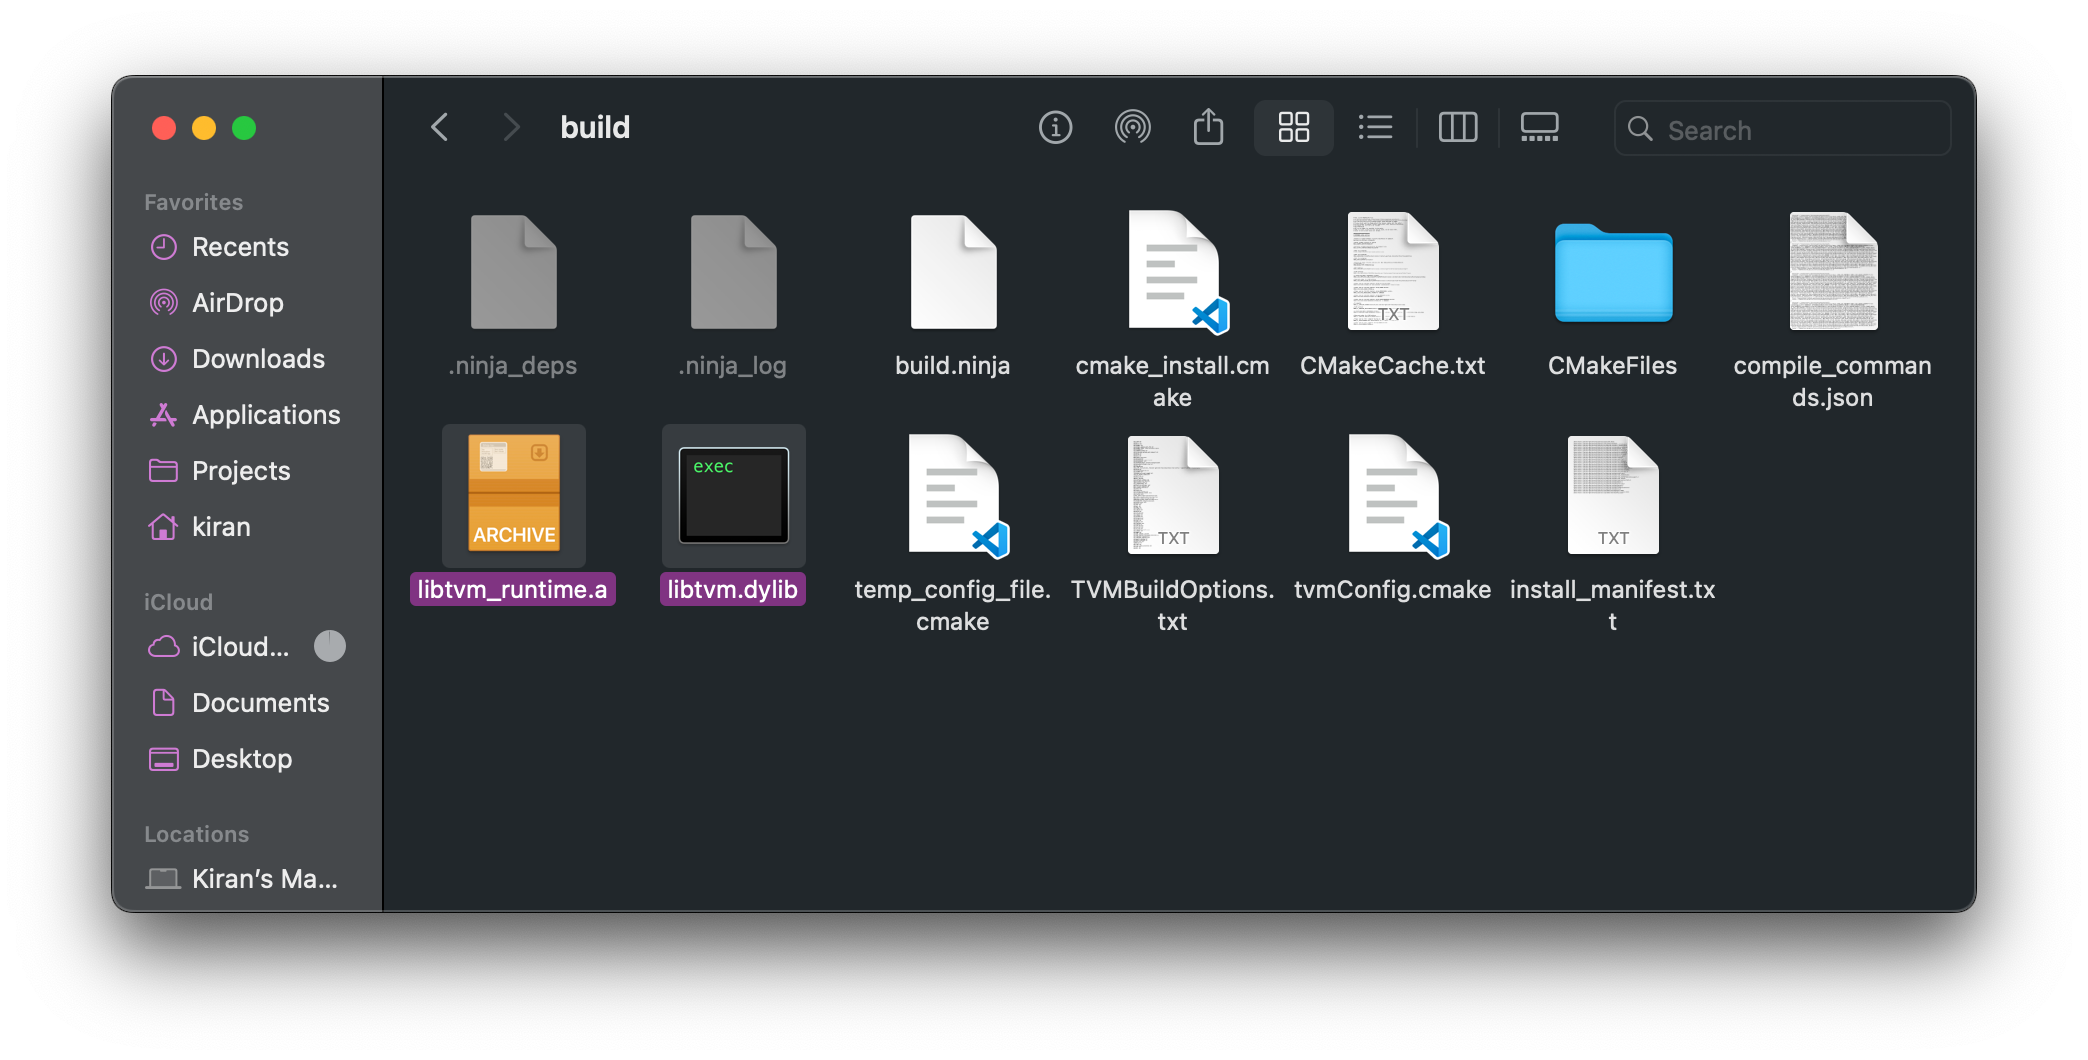
Install built binaries into
installdirectory1
cmake --build . --target install

Set environment variables
1
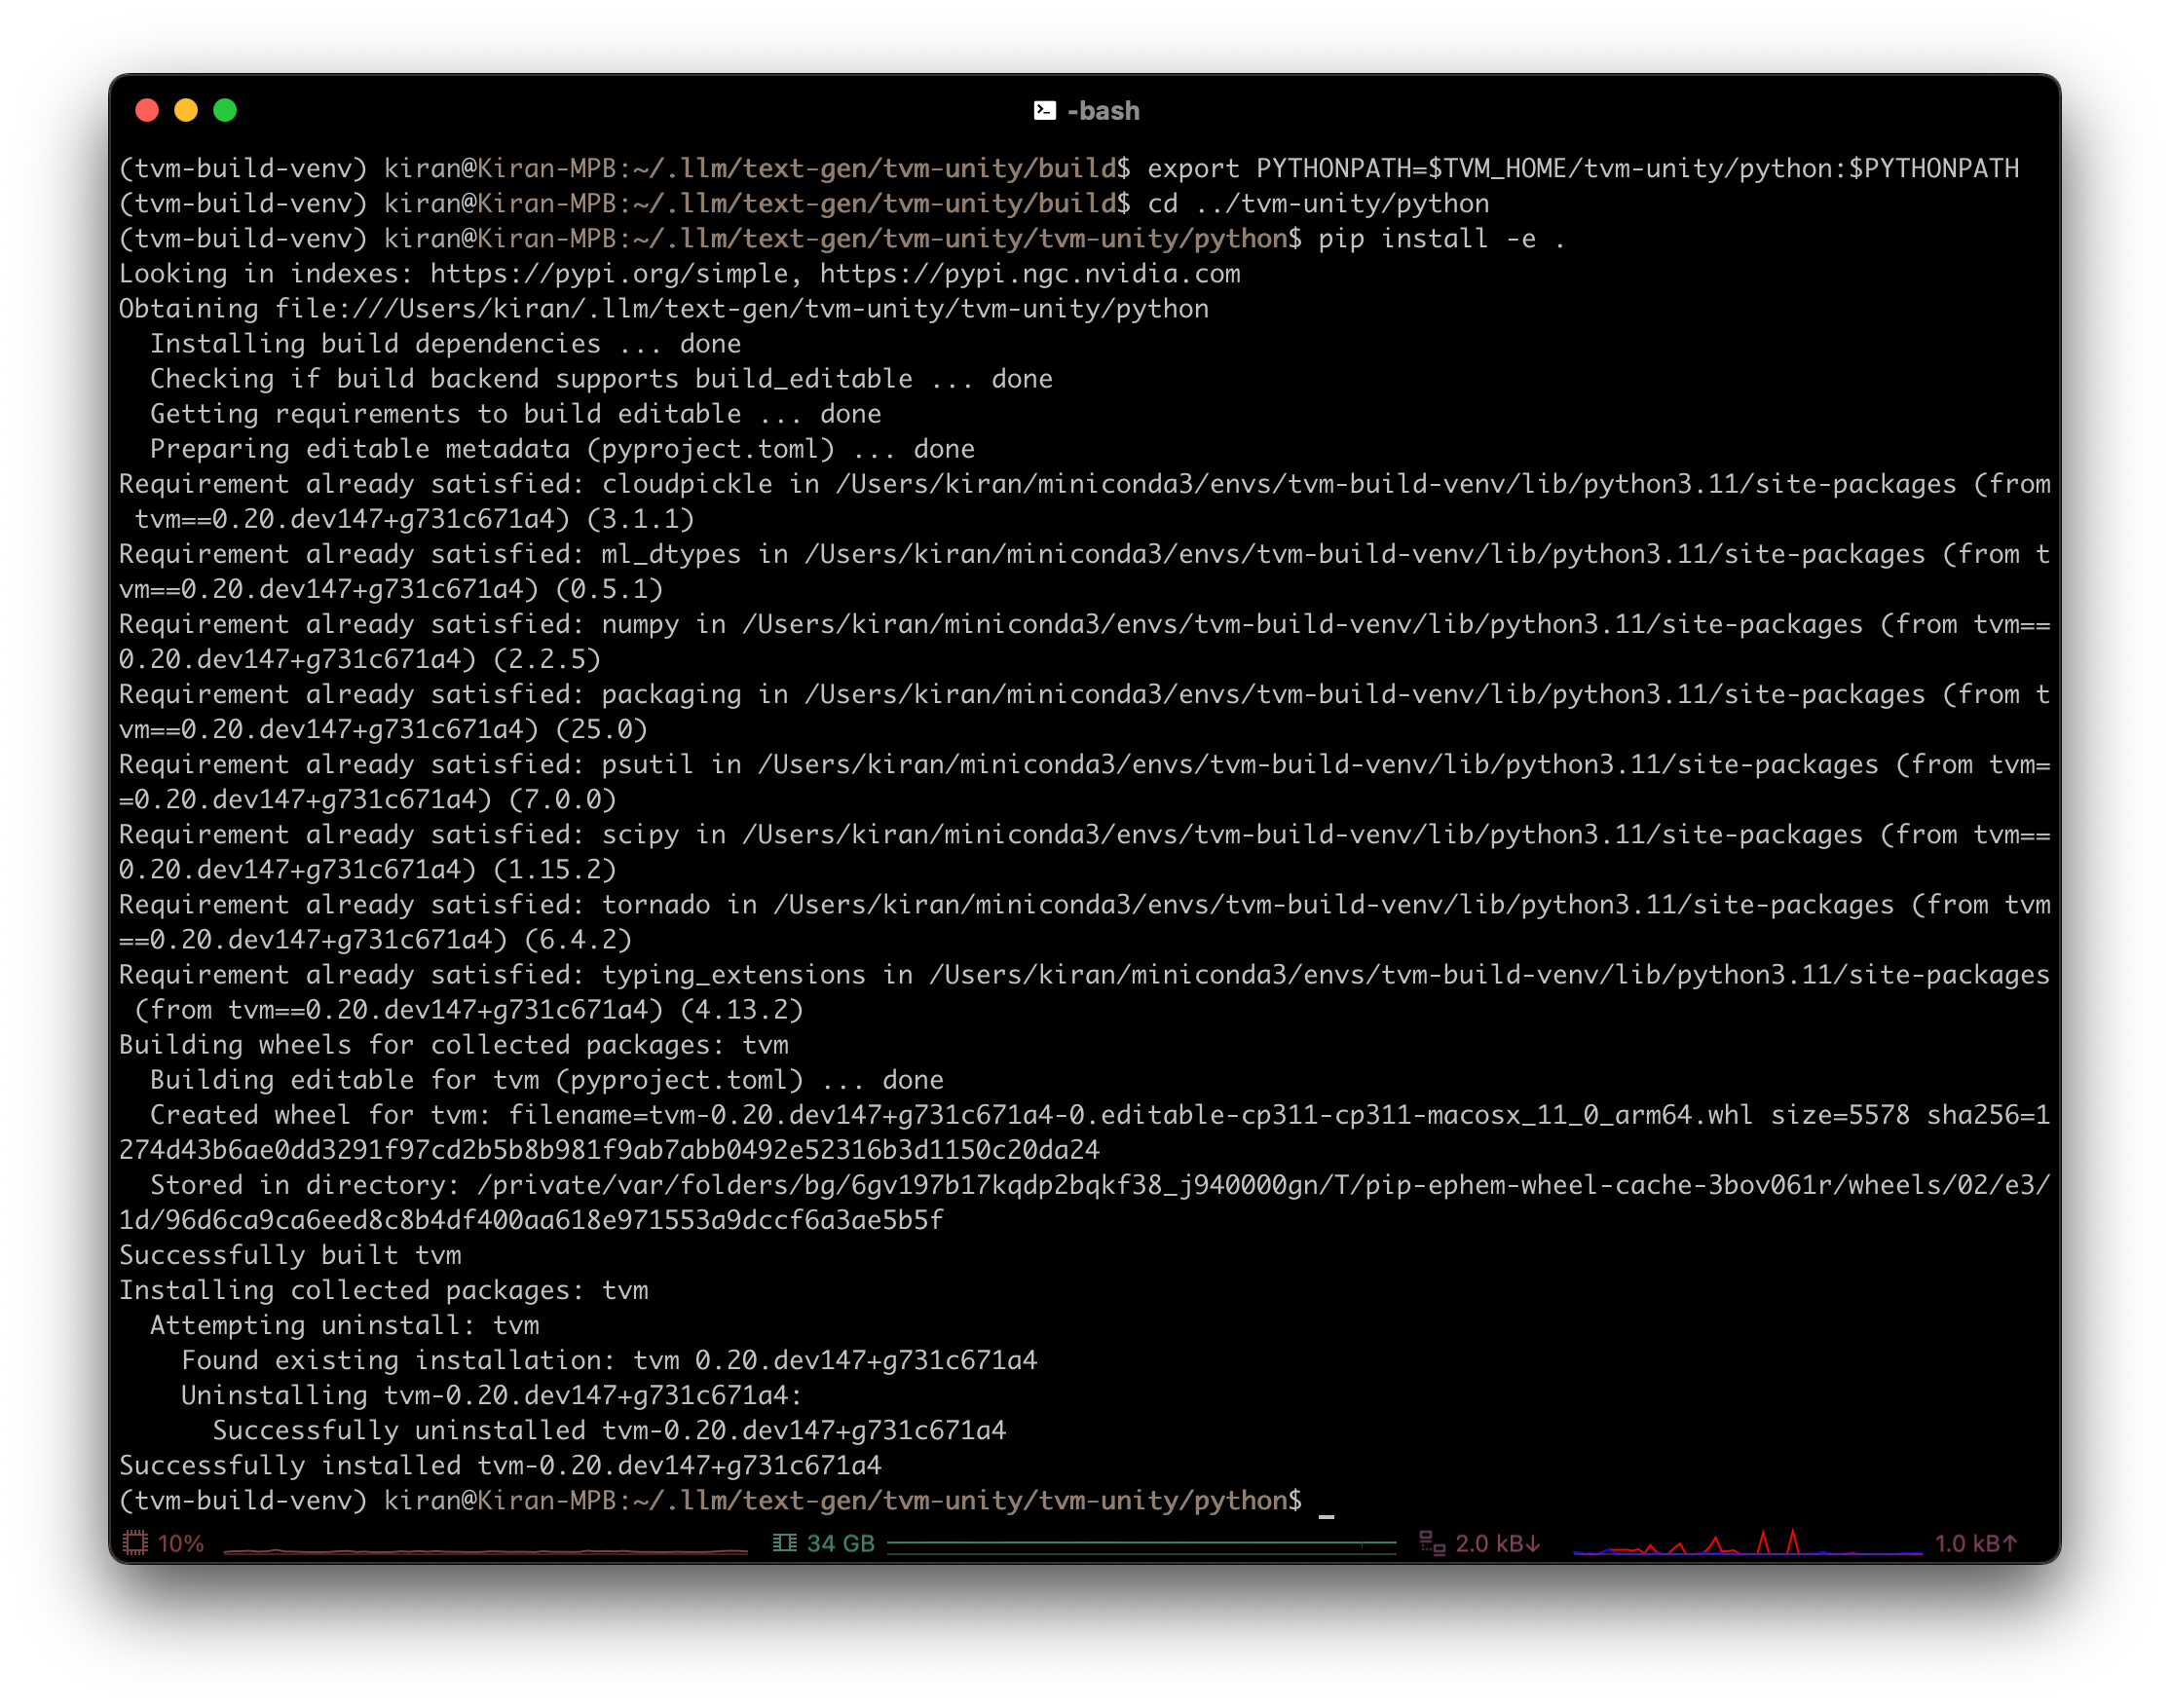
export PYTHONPATH=$TVM_HOME/tvm-unity/python:$PYTHONPATH
Optional: Add environment variables to your
.bashrc(or other shell startup file)1
echo -e 'export PYTHONPATH=$TVM_HOME/tvm-unity/python:$PYTHONPATH' >> $HOME/.bashrc
Go to
pythondirectory (fullpath:$HOME/.llm/tvm-unity/tvm-unity/python)1
cd ../tvm-unity/pythonInstall Python bindings
1
pip install -e .
Make sure
tvm-build-venvConda environment is activated before runningpip install -e .or doing a CMake build1
conda activate tvm-build-venv
Validate TVM installation by locating TVM Python package
1
python -c "import tvm; print(tvm.__file__)"
Example output:
1
/some-path/lib/python3.11/site-packages/tvm/__init__.py
Check which TVM library is used by confirming python package is using the proper
libtvm1
python -c "import tvm; print(tvm._ffi.base._LIB)"
Example output:
1
<CDLL '/some-path/lib/python3.11/site-packages/tvm/libtvm.dylib', handle 95ada510 at 0x1030e4e50>
Wrong TVM commit or build flags may cause downstream applications.
Troubleshoot with this command:
Example output, where
GIT_COMMIT_HASHis the exact commit of the TVM build (found athttps://github.com/mlc-ai/relax/commit/$GIT_COMMIT_HASH):
To check if TVM detects your device:
Expected output:
Please note that the commands above verify the presence of an actual device on the local machine for the TVM runtime (not the compiler) to execute properly. However, TVM compiler can perform compilation tasks without requiring a physical device. As long as the necessary toolchain (e.g. NVCC) is available, TVM supports cross-compilation even in the absence of an actual device.
Part 3: MLC LLM
Frontend for text generation.
Create the conda environment with build dependencies
1
conda create -n mlc-chat-venv -c conda-forge "cmake>=3.24" rust git python=3.11
Enter build environment
1
conda activate mlc-chat-venv
Enter
mlc-llm1
cd $HOME/.llm/mlc-llm
Clone and enter MLC LLM
1
git clone --recursive https://github.com/mlc-ai/mlc-llm.git && cd mlc-llm
Create and enter
builddirectory1
mkdir build && cd build
Generate build config
1
python ../cmake/gen_cmake_config.py
Patch
msgpack/CMakeLists.txtandsentencepiece/CMakeLists.txtfiles by replacingcmake_minimum_required(VERSION 2.8)withcmake_minimum_required(VERSION 3.5...3.28)Build MLC LLM libraries
1 2
cmake .. -DCMAKE_PREFIX_PATH=$HOME/.llm/tvm-unity/install cmake --build . --parallel $(sysctl -n hw.logicalcpu)
Install to Python
1
cd ../python && pip install -e .
Install potentially missing packages used by TVM Unity
1
pip install cloudpickle psutil scipy tornadoExport environment variables
1 2
export MLC_LLM_SOURCE_DIR=$HOME/.llm/mlc-llm/mlc-llm export PYTHONPATH=$MLC_LLM_SOURCE_DIR/python:$PYTHONPATH
Optional: Add environment variables to your
.bashrc(or other shell startup file)1
echo -e 'export MLC_LLM_SOURCE_DIR=$HOME/.llm/mlc-llm/mlc-llm\nexport PYTHONPATH=$MLC_LLM_SOURCE_DIR/python:$PYTHONPATH' >> $HOME/.bashrc
Make sure to include TVM too
1
cd $HOME/.llm/tvm-unity/tvm-unity/python
Set environment variables
1
2
3
export TVM_HOME=$HOME/.llm/tvm-unity
export TVM_LIBRARY_PATH=$TVM_HOME/build
export DYLD_LIBRARY_PATH=$TVM_LIBRARY_PATH:$DYLD_LIBRARY_PATH
Optional: Add environment variables to your
.bashrc(or other shell startup file)1
echo -e 'export TVM_HOME=$HOME/.llm/tvm-unity\nexport TVM_LIBRARY_PATH=$TVM_HOME/build\nexport DYLD_LIBRARY_PATH=$TVM_LIBRARY_PATH:$DYLD_LIBRARY_PATH' >> $HOME/.bashrc
Install
tvmas Python package tomlc-chat-venv1
pip install -e .
Validate MLC LLM Installation with the following commands:
1
ls -l ../build
Output should include libmlc_llm.so and libtvm_runtime.so
1
python -m mlc_llm chat -h
Output should display help message
1
python -c "import mlc_llm; print(mlc_llm)"
Output should display something similar to <module 'mlc_llm' from '$HOME/.llm/mlc-llm/mlc-llm/python/mlc_llm/__init__.py'>
Part 4: Models
Requirements for running a model with MLC LLM:
- Model weights: Model converted to MLC format
- Model library: specified in
mlc-chat-config.jsonand generated bygen_config, contains inference logic:
- Model architecture (e.g.
llama-2,gpt-neox)- Quantization (e.g.
q4f16_1,q0f32)- Metadata (e.g.
context_window_size,sliding_window_size,prefill-chunk-size), which affects memory planning- Platform (e.g.
cuda,webgpu,iOS)
Model Compilation
Optimizes the model inference for a given platform, allowing users bring their own new model architecture, use different quantization modes, and customize the overall model optimization flow.
Enter directory where models will be saved
1
 cd $HOME/.llm/models
Initialize git LFS in order to be able to download large files (in this case, model weights)
1
 git lfs install
Download model weights from HF, where
<HF_USER>and<HF_MODEL>are the username and model’s name on HuggingFace, respectively1
git clone https://huggingface.co/<HF_USER>/<HF_MODEL>
E.g.
https://huggingface.co/togethercomputer/RedPajama-INCITE-Instruct-3B-v1Convert weight to MLC format to use in MLC LLM. General pattern for the weight conversion command (i.e.
mlc_llm convert_weight); optional args are wrapped with[ ]:1 2 3 4 5 6 7
mlc_llm convert_weight <CONFIG> \ --quantization <QUANTIZATION_MODE> \ [--model-type <MODEL_TYPE>] \ [--device <DEVICE>] \ [--source <SOURCE>] \ [--source-format <SOURCE_FORMAT>] \ --output <OUTPUT>
| Argument | Description | Options | Default |
|---|---|---|---|
<CONFIG> | Defines model architecture, including vocabulary size, number of layers, hidden size, number of attention heads, etc. | - Path to HuggingFace model directory with config.json; includes non-quantized model weights in PyTorch or SafeTensor format, tokenizer configurations, and generation_config.json for more default configuration for text generation (example)- Path to config.json (example)- Pre-defined model name (see MODEL_PRESETS) | |
--quantization <QUANTIZATION_MODE> | (Quantization mode used during compilation | - q0f16- q0f32- q3f16_1- q4f16_1- q4f32_1- q4f16_awq) | |
--model-type <MODEL_TYPE> | Model architecture | "llama", etc. | Inferred from config.json |
--device <DEVICE> | Device used for quantization | "cuda", "cuda:0", etc. | Auto-detected GPU |
--source <SOURCE> | Path to original model weight | Path to model | Inferred from config |
--source-format <SOURCE_FORMAT> | Source model weight’s format | Format type | Inferred from config |
--output, -o <OUTPUT> | Output directory for quantized weights (i.e. where to save quantized model weight); contains params_shard_*.bin and ndarray-cache.json | Path to directory |
1
2
3
4
5
6
7
8
9
10
11
E.g.:

```sh
mlc_llm convert_weight RedPajama-INCITE-Chat-3B-v1 \
--quantization q4f16_1 \
-o RedPajama-INCITE-Chat-3B-v1-q4f16_1-MLC
```
{: .nolineno }

> Using 4-bit quantization is recommended, as the text generated by 3-bit quantized models may have bad quality depending on the model.
{: .prompt-tip }
Generate
mlc-chat-config.jsonand process tokenizers1 2 3 4
mlc_llm gen_config <HF_MODEL> \ --quantization <QUANTIZATION_MODE> \ --conv-template <TEMPLATE> \ -o <CONVERTED_HF_MODEL>
E.g. Local path
1
2
3
4
 mlc_llm gen_config $HOME/.llm/models/pygmalion-2-13b \
 --quantization q4f16_1 \
 --conv-template LM \
 -o $HOME/.llm/models/pygmalion-2-13b-q4f16_1
--conv-template LMuses a template tailored to perform vanilla LLM completion (generally adopted by code completion models)E.g. HuggingFace model
1
2
3
4
 mlc_llm gen_config RedPajama-INCITE-Chat-3B-v1 \
 --quantization q4f16_1 \
 --conv-template redpajama_chat \
 -o RedPajama-INCITE-Chat-3B-v1-q4f16_1-MLC
- See Compile Command Specification for specification of
gen_config - Optional: Customize MLC chat config
- conversation_template directory contains a full list of conversation templates that MLC provides. If the model you are adding requires a new conversation template, you would need to add your own. Follow this PR as an example. However, adding your own template would require you build mlc_llm from source in order for it to be recognized by the runtime.
- See Compile Command Specification for specification of
Confirm you have the right files
1
 ls $HOME/.llm/models/<HF_MODEL>
The output should look similar to
1
2
3
4
5
6
7
 mlc-chat-config.json         # Chat config
 ndarray-cache.json           # Model weight info
 params_shard_0.bin           # Model weights
 params_shard_1.bin
 ...
 tokenizer.json               # Tokenizer files
 tokenizer_config.json
Compile and create model library with specification in
mlc-chat-config.json1 2 3
mlc_llm compile <CONVERTED_HF_MODEL>/mlc-chat-config.json \ --device metal \ -o libs/<CONVERTED_HF_MODEL>-metal.so
E.g.:
1
2
3
 mlc_llm compile RedPajama-INCITE-Chat-3B-v1-q4f16_1-MLC/mlc-chat-config.json \
 --device metal \
 -o libs/RedPajama-INCITE-Chat-3B-v1-q4f16_1-metal.so
Generated model library can be shared across multiple model variants, as long as the architecture and number of parameters does not change, e.g. same architecture, but different weights (your finetuned model)
Upload Weights
Create a repository on Hugging Face
Enter directory where models will be saved
1
 cd $HOME/.llm/models
Initialize git LFS in order to be able to download large files (in this case, model weights)
1
 git lfs install
Download model weights from HF, where
<HF_USERNAME>and<HF_MODEL_REPO>are your Hugging Face username and model’s repo name on HuggingFace, respectively1
git clone https://huggingface.co/<HF_USERNAME>/<HF_MODEL_REPO>
E.g.
https://huggingface.co/togethercomputer/RedPajama-INCITE-Instruct-3B-v1Enter newly cloned weights directory
1
 cd <MY_HF_MODEL_REPO>
Copy converted model weights into the Hugging Face repo
1
 cp $HOME/.llm/models/<CONVERTED_HF_MODEL>/* .
E.g.
$HOME/.llm/models/RedPajama-INCITE-Instruct-3B-v1-q4f16_1-MLC/*Stage all changes
1
 git add .
Commit staged changes
1
 git commit -m "Add `<CONVERTED_HF_MODEL>` model weights"
Push commit(s) to remote repo (i.e. HuggingFace repo)
1
 git push origin main
Example
Once you have access, create directory
dist/models1
mkdir -p dist/models && cd dist/models
Download model to the directory
1
2
3
 git lfs install
 git clone https://huggingface.co/meta-llama/Llama-2-7b-chat-hf
 cd ../..
Convert HF weights into MLC-compatible weights
1
2
3
 mlc_llm convert_weight models/Llama-2-7b-chat-hf \
 --quantization q4f16_1 \
 -o dist/Llama-2-7b-chat-hf-q4f16_1-MLC
All platforms can share the same compiled/quantized weights
Create output directory for compiled model library
1
 mkdir -p dist/libs
Generate
mlc-chat-config.jsonand process tokenizers1 2 3 4
mlc_llm gen_config ./dist/models/Llama-2-7b-chat-hf \ --quantization q4f16_1 \ --conv-template llama-2 \ -o dist/Llama-2-7b-chat-hf-q4f16_1-MLC
Compile model library with specification in
mlc-chat-config.json1 2 3
mlc_llm compile ./dist/Llama-2-7b-chat-hf-q4f16_1-MLC/mlc-chat-config.json \ --device metal \ -o dist/libs/Llama-2-7b-chat-hf-q4f16_1-metal.so
Using 3-bit quantization usually can be overly aggressive and only works for limited settings. If you encounter issues where the compiled model does not perform as expected, consider utilizing a higher number of bits for quantization (e.g., 4-bit quantization).
Usage
Make sure
mlc-chat-venvConda environment is activated:
Python API
Constructors of MLCEngine and AsyncMLCEngine have optional arg mode, which falls into one of the three options:
"local": Default mode. Uses low request concurrency and low KV cache capacity, which is suitable for cases where concurrent requests are not too many, and the user wants to save GPU memory usage."interactive": Uses1as the request concurrency and low KV cache capacity, which is designed for interactive use cases such as chats and conversations."server": Uses as much request concurrency and KV cache capacity as possible. This mode aims to fully utilize the GPU memory for large server scenarios where concurrent requests may be many. Use for system benchmark.
Each mode denotes a pre-defined configuration of the engine to satisfy different use cases. The choice of the mode controls the request concurrency of the engine, as well as engine’s KV cache token capacity (or in other words, the maximum number of tokens that the engine’s KV cache can hold), and further affects the GPU memory usage of the engine.
See API reference for detailed documentation of the engine mode
Run MLCEngine
1
2
3
4
5
6
7
8
9
10
11
12
13
14
15
16
17
18
19
20
21
22
23
24
25
26
27
28
from mlc_llm import MLCEngine

# Create engine
model = "HF://mlc-ai/Llama-3-8B-Instruct-q4f16_1-MLC"
engine = MLCEngine(model)

# Build custom prompt using special tokens
prompt = (
	"<|system|>You are a concise assistant. Answer questions briefly and thoughtfully. Always respond in no more than three sentences."
	"<|user|>What is the meaning of life?"
	"<|model|>"
)

# Run chat completion in OpenAI API
for response in engine.chat.completions.create(
	messages=[{"role": "user", "content": prompt}],
	model=model,
	stream=True,
	temperature=0.6,
	top_p=0.9,
	stop=["</s>", "<|end|>"],
	frequency_penalty=0.6,
	presence_penalty=0.3,
):
	for choice in response.choices:
		print(choice.delta.content, end="", flush=True)

engine.terminate()
Specify arg
model_config_overridesinMLCEngineconstructor to enable tensor parallelism to run LLMs on multiple GPUs, e.g.:
Run AsyncMLCEngine
Stream Response
1
2
3
4
5
6
7
8
9
10
11
12
13
14
15
16
17
18
19
20
21
22
23
24
25
26
27
28
29
30
31
32
33
34
35
36
37
38
import asyncio
from typing import Dict

from mlc_llm.serve import AsyncMLCEngine

model = "HF://mlc-ai/Llama-3-8B-Instruct-q4f16_1-MLC"
prompts = [
    "Write a three-day travel plan to Pittsburgh.",
    "What is the meaning of life?",
]

async def test_completion():
    # Create engine
    async_engine = AsyncMLCEngine(model=model)

    num_requests = len(prompts)
    output_texts: Dict[str, str] = {}

    async def generate_task(prompt: str):
        async for response in await async_engine.chat.completions.create(
            messages=[{"role": "user", "content": prompt}],
            model=model,
            stream=True,
        ):
            if response.id not in output_texts:
                output_texts[response.id] = ""
            output_texts[response.id] += response.choices[0].delta.content

    tasks = [asyncio.create_task(generate_task(prompts[i])) for i in range(num_requests)]
    await asyncio.gather(*tasks)

    # Print output.
    for request_id, output in output_texts.items():
        print(f"Output of request {request_id}:\n{output}\n")

    async_engine.terminate()

asyncio.run(test_completion())
Specify arg
model_config_overridesinAsyncMLCEngineconstructor to enable tensor parallelism to run LLMs on multiple GPUs, e.g.:
Non-Stream Response
1
2
3
4
5
6
response = await engine.chat.completions.create(
  messages=[{"role": "user", "content": "What is the meaning of life?"}],
  model=model,
  stream=False,
)
print(response)
Set Inference Entrypoint
Locally deploy compiled model, e.g.
1
2
3
python -m mlc_llm.serve.server \
--model dist/CodeLlama-7b-hf-q4f16_1-MLC \
--model-lib ./dist/libs/CodeLlama-7b-hf-q4f16_1-cuda.so
Chat CLI
Command line tool to interactively run MLC-compiled LLMs out of the box.
Command pattern, where where <MODEL> is the model folder after compiling with MLC-LLM build process
1
2
3
4
mlc_llm chat <MODEL> \
[--model-lib <MODEL_LIB_PATH>] \
[--device <DEVICE>] \
[--overrides <OVERRIDES>]
| Argument | Description | Options | Default | Example |
|---|---|---|---|---|
<MODEL> | Model source | - Path to mlc-chat-config.json- MLC model directory containing mlc-chat-config.json (i.e. after compiling with MLC-LLM build process)- Model name with quantization scheme (e.g. Llama-2-7b-chat-hf-q4f16_1)- Link to a HuggingFace repository (i.e. HF://<HF_USER>/<HF_MODEL>) with an MLC compiled model | "$HOME/Models/mlc-chat-config.json" | |
--model-lib <MODEL_LIB_PATH> | Model library file (e.g. .so) | Path to model library | Detected path for given model; compiles in JIT if no model lib found | --model-lib "$HOME/Models/example_model.so" |
--device <DEVICE> | Device to run on, formatted as device_name:device_id or device_name | device_name:- cuda- metal- vulkan- rocm- opencl- auto (i.e. detects local device)device_id: Non-negative integer | - device_name: auto- device_id: 0 | --device "metal" |
--overrides <OVERRIDES> | Model configuration overrides for advanced tuning | - context_window_size- prefill_chunk_size- sliding_window_size- attention_sink_size- max_num_sequence- tensor_parallel_shards | --overrides "context_window_size=1024;prefill_chunk_size=128" |
E.g. To use the model at https://huggingface.co/mlc-ai/Llama-3-8B-Instruct-q4f16_1-MLC
1
mlc_llm chat HF://mlc-ai/Llama-3-8B-Instruct-q4f16_1-MLC
E.g. To use local model
1
mlc_llm chat "$HOME/.llm/models/pygmalion-2-13b-q4f16_1"
Use
--overrides "tensor_parallel_shards=$NGPU"arg to enable tensor parallelism to run LLMs on multiple GPUs, e.g.:
Use these commands to interact with the model:
| Command | Description | Example |
|---|---|---|
/help | Print special commands | |
/exit | Quit CLI | |
/stats | Print stats of last request (token/sec) | |
/metrics | Print full engine metrics | |
/reset | Restart fresh chat | |
/set [overrides] | Override settings in generation config. Note: Separate stop words in the stop option with commas (,). Start new line for multi-line inputs with Escape + Enter to | /set temperature=0.5;top_p=0.8;seed=23;max_tokens=100;stop=str1,str2 |
REST Server
Launch REST server via command line to serve model for OpenAI chat completion requests
1
mlc_llm serve HF://<HF_USER>/<HF_MODEL>
- Server hooks at
http://127.0.0.1:8000by default- Set different host and port with
--hostand--portrespectively- Optional: Pass
"stream": truearg for stream responses
Use
--overrides "tensor_parallel_shards=$NGPU"arg to enable tensor parallelism to run LLMs on multiple GPUs, e.g.:
Send cURL request once server is ready (i.e. shows INFO: Uvicorn running on http://127.0.0.1:8000 (Press CTRL+C to quit))
1
2
3
4
5
6
7
8
9
curl -X POST \
  -H "Content-Type: application/json" \
  -d '{
        "model": "HF://<HF_USER>/<HF_MODEL>",
        "messages": [
            {"role": "user", "content": "Solve 5*2"}
        ]
  }' \
  http://127.0.0.1:8000/v1/chat/completions
The server will process this request and send back the response
IDE Integration
MLC LLM supports code completion on multiple IDEs, such as VSCode, IntelliJ and Nvim, by integrating a coding LLM into your IDE vs MLC LLM REST API.
Deploy LLM locally before continuing onto the following steps
- Connect IDE to MLC LLM’s REST API
- Install the Hugging Face code completion extension
llm-lsin your IDE - Open the
settings.jsonextension config file
Replace the following settings with the respective values to allow
llm-lsto send OpenAI compatible requests to the MLC Serve API1 2 3
"llm.modelId": "dist/CodeLlama-7b-hf-q4f16_1-MLC" "llm.url": "http://127.0.0.1:8000/v1/completions" "llm.backend": "openai"
Refer to REST API documentation for more details about tunable API parameters.
1
2
3
4
5
6
7
8
9
10
11
12
13
14
 "llm.requestBody": {
    "best_of": 1,
    "frequency_penalty": 0.0,
    "presence_penalty": 0.0,
    "logprobs": false,
    "top_logprobs": 0,
    "logit_bias": null,
    "max_tokens": 128,
    "seed": null,
    "stop": null,
    "suffix": null,
    "temperature": 1.0,
    "top_p": 1.0
 }
llm-lssupports various [code completion] templates. Choose the one that best matches your model (i.e. template with the correct tokenizer) and Fill in the Middle tokens.
- After everything is all set, the extension will be ready to use the responses from the MLC Serve API to provide off-the-shelf code completion on your IDE.

llama.cpp
Background
Requirements
Build and Install
Create Conda environment
1
 conda create -n llama-env -c conda-forge cmake python=3.10
Activate build environment
1
 conda activate llama-env
Create directory structure
1
 mkdir -p $HOME/.llm/llama/{build,install}
Enter newly created
llamadirectory1
cd $HOME/.llm/llama
Clone and enter
llama.cpprepo1
git clone https://github.com/ggml-org/llama.cpp && cd llama.cpp
Configure build system with
CMake1 2 3 4 5 6 7 8 9 10 11 12 13 14 15 16 17 18 19 20 21 22 23 24 25 26 27 28 29 30 31 32 33 34 35 36 37 38 39 40 41 42 43 44 45 46 47 48
cmake -B ../build -G Ninja \ -DCMAKE_BUILD_TYPE=Release \ -DCMAKE_INSTALL_PREFIX=$HOME/.llm/llama/install \ -DCMAKE_PREFIX_PATH=$HOME/.llm/llama/install \ -DCMAKE_INTERPROCEDURAL_OPTIMIZATION=TRUE \ -DCMAKE_C_COMPILER=clang \ -DCMAKE_CXX_COMPILER=clang++ \ -DCMAKE_C_FLAGS="-O3 -mcpu=native -fomit-frame-pointer -fvectorize -fslp-vectorize -ftree-vectorize -ffp-contract=fast -funroll-loops -fno-stack-protector -dead_strip" \ -DCMAKE_CXX_FLAGS="-O3 -mcpu=native -fomit-frame-pointer -fvectorize -fslp-vectorize -ftree-vectorize -ffp-contract=fast -funroll-loops -fno-stack-protector -dead_strip" \ -DCMAKE_LIBRARY_PATH="/usr/lib:/usr/local/lib:/Library/Developer/CommandLineTools/usr/lib:/System/Library/Frameworks/Accelerate.framework:/System/Library/Frameworks/Metal.framework" \ -DCMAKE_EXE_LINKER_FLAGS="-Wl,-S,-framework Accelerate,-framework Metal,-framework Foundation,-framework MetalKit" \ -DCMAKE_OSX_SYSROOT=$(xcrun --sdk macosx --show-sdk-path) \ -DCMAKE_OSX_ARCHITECTURES=arm64 \ -DCMAKE_POLICY_DEFAULT_CMP0077=NEW \ -DHIDE_PRIVATE_SYMBOLS=ON \ -DBUILD_SHARED_LIBS=ON \ -DBUILD_TESTING=OFF \ -DUSE_METAL=ON \ -DUSE_MPS=OFF \ -DUSE_GTEST=OFF \ -DUSE_LIBBACKTRACE=OFF \ -DGGML_INCLUDE_INSTALL_DIR=$HOME/.llm/llama/install/include \ -DGGML_CUDA_GRAPHS=OFF \ -DGGML_CUDA_FA=OFF \ -DGGML_METAL=ON \ -DGGML_METAL_EMBED_LIBRARY=ON \ -DGGML_METAL_USE_BF16=ON \ -DGGML_METAL_NDEBUG=ON \ -DLLAMA_ALL_WARNINGS=OFF \ -DLLAMA_BUILD_EXAMPLES=OFF \ -DLLAMA_BUILD_TESTS=OFF \ -DLLAMA_BUILD_SERVER=OFF \ -DLLAMA_INCLUDE_INSTALL_DIR=$HOME/.llm/llama/install/include \ -DLLAMA_LIB_INSTALL_DIR=$HOME/.llm/llama/install/lib \ -DLLAMA_BIN_INSTALL_DIR=$HOME/.llm/llama/install/bin \ -DLLAMA_CURL=ON \ -DLLAMA_METAL=ON \ -DLLAMA_METAL_EMBED_LIBRARY=ON \ -DLLAMA_NATIVE=ON \ -DLLAMA_ACCELERATE=ON \ -DLLAMA_BLAS=ON \ -DLLAMA_BLAS_VENDOR=Apple \ -DLLAMA_AVX=OFF \ -DLLAMA_AVX2=OFF \ -DLLAMA_AVX512=OFF \ -DLLAMA_F16C=OFF \ -DLLAMA_FMA=OFF \ -DLLAMA_LLAMAFILE=OFF
List valid compiler flags
1
clang -mcpu=help
List valid CMake flags with
ccmake1
ccmake .List valid CMake flags with
cmake1
cmake -LUse
-fvectorizeor-fassociative-mathforDCMAKE_C_FLAGSandDCMAKE_CXX_FLAGSif compiling heavily vectorized codeBuild and compile
llama.cppwithCMake1
cmake --build ../build --config Release -j $(sysctl -n hw.logicalcpu)
Install
1
 cmake --install ../build
Usage
MLX
// TODO
Resources
- Performance tips and tricks:
conda-libmamba-solver - Conda 23.10.0:
libmambais now the default solver llvm-project(GitHub)- Install MLC LLM Python Package
llm-tracker: Apple Silicon Macs- Python API (MLC LLM)
- Install MLC LLM Python Package
- Convert Model Weights (MLC LLM)
- Install TVM Unity Compiler (MLC LLM)
- Install Conda (MLC LLM)
- Getting Started with LLVM
- How To Cross-Compile Clang/LLVM using Clang/LLVM
- CLI (MLC LLM)
- Uncensored Models
- -march=, -mcpu=, and -mtune=
- It is more complicated than I thought: -mtune, -march in GCC
- Beware of fast-math
- Options That Control Optimization (GCC)
- Understanding fast-math
- Optimizations enabled by -ffast-math
- Compiler flags across architectures: -march, -mtune, and -mcpu